This tutorial explains how to write an image to the microSD* card (removable flash memory) on the Terasic DE10-Nano*. In the steps below, you'll learn where to download the latest image, how to write the image to the microSD card and what to look for (after powering on the board) to ensure you've correctly programmed the card.
Prerequisites:
- Disk Imager
- A microSD to SD card adapter (optional)
Contents of the SD Card
The microSD card contains the embedded software needed to boot and run the board.
These include the FPGA configuration bitstreams, Linux* kernel and device trees for the board, Angstrom* and U-Boot*.
Curious about the details of SD card contents? Find more information at the end of this tutorial page.
Download and Install the Image
Download the Image
- Get the desired image from DE10-Nano Downloads Page
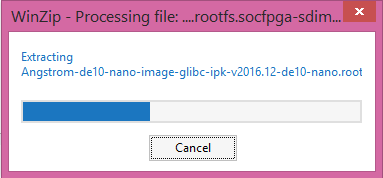
- Unpack tarball file (filename with file extension .tgz) using WinZip*
Note: remember where you saved this file, you\x92ll it for step 6.
- For Windows\xAE users download Win32 Disk Imager*:
For Linux* users, learn how to write an image here:
How to write a disk image on Linux - To program the microSD card from your host PC, insert the microSD card into the host PC.
If a microSD card slot is not available, use a microSD to SD memory card adapter and then insert into a standard SD card slot. -
Open file explorer and check for the microSD card
Note: The microSD card is recognized as a mass storage device
Write the image to the microSD card
- Open Win32 Disk Imager
- Image File: Select image file
- Device: Point at target device (see step 5. above)
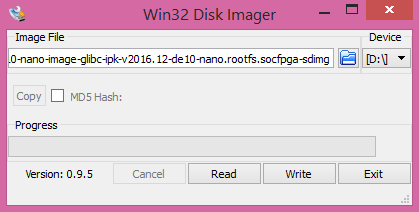
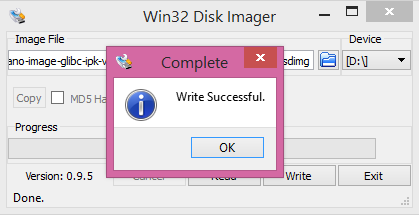
- Click \x93Write\x94 to write image to the device (microSD card)
- Hit \x93Exit\x94 when write is successful.
- Remove microSD card from host PC and insert into microSD card slot on the board.
LED Indicators
Power on the Board
To power on the board:
- Connect the USB OTG cable to the DE10-Nano (Micro-B) and your host PC (Type-A).
- Then connect the power adapter and plug in the power cable (DC 5V) into a wall outlet.
Note: the board does not have a power button and powering on the board here means connecting the power plug to a wall outlet.
LED Boot Sequence
- Blue LED: 3.3 V power LED lights up.
- Amber LED: Indicates that the FPGA has been configured.
- Green \x93Heartbeat\x94 LED: A pulsing or 'heartbeat' LED indicates that the Linux OS has been loaded.
- Green user LEDs [7:0]: Counts down from LSB to MSB. Indicates that the device tree overlay has been loaded.
What that means is that Linux now knows about the LEDs (so why not blink them!).
If you've made it this far, it means everything is working\x97hooray! You're now ready to connect to the board and start playing with the web demos.
Extra: Details of SD Card Contents by Partition
In case your interested, below are the contents of the SD card (factory default). Other SD card images contain other contents and could be partioned in other ways.
Partition 1
- FPGA configuration bitstreams
- Linux kernel and device trees for the board
- extlinux.conf used for boot configuration by U-Boot
Partition 2
- Angstrom* RootFS
- Arm toolchain
- XFCE Desktop
- Examples/demos
Partition 3
- U-Boot SPL* and U-Boot*
More information on the Terasic DE10-Nano:
"