Co-authored with: Hao Zhang, Darkstar Games
Version 4.19 of Unreal Engine* enables games to benefit from the performance of Intel® multicore processors and deliver more exciting experiences. This article illustrates the Unreal Engine* CPU particle effect through the example of the game Sinner: Sacrifice for Redemption.
Why Use CPU Particles?
The particle effect in Unreal Engine can be realized by either the GPU or CPU. The maximum number of GPU particles supported is much larger than CPU particles. So, why then are CPU particles still used? Because although GPU particles have absolute advantages in number, they can’t support all particle characteristics, such as the light module. At the same time, powerful multicore CPU processing performance can also share part of the GPU pressure.
Introduction
In the initial scene of the Sinner game, candle decorations were added to better portray the game atmosphere. The light provided by the candles is intended to be adjusted according to the flame dynamics. The flame effect of candles is achieved by using CPU particles, and the dynamic light effect is achieved by using the light module of CPU particles.
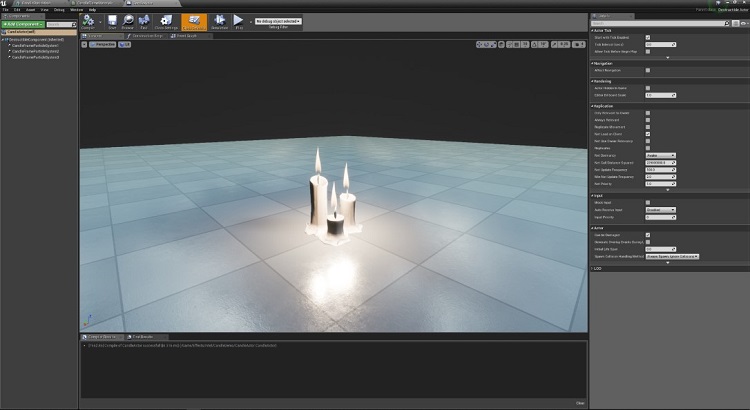
Figure 1. Candles preview
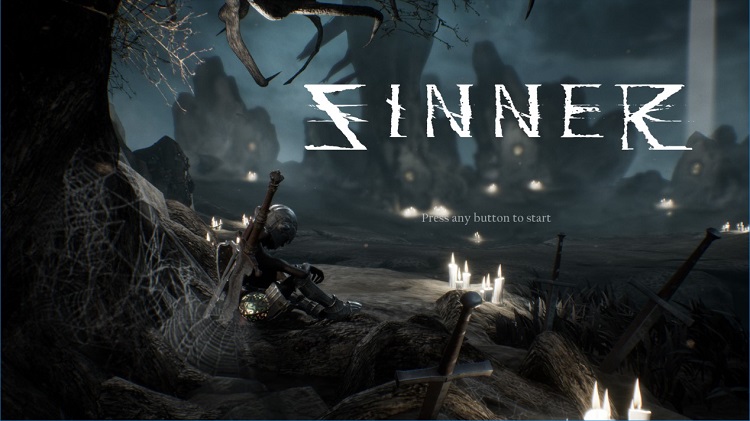
Figure 2. Game screen performance
Prepare the Candle Model
The production of candles is divided into two parts:
- Produce the candle model including candle mesh and material.
- Produce the candle flame.
Artists use special 3D modeling software to create the candle model. In this example, content was already created and imported. Instead of making different models for different candles, three different candles are made into one model to simplify the production and use. See figure 3 below.
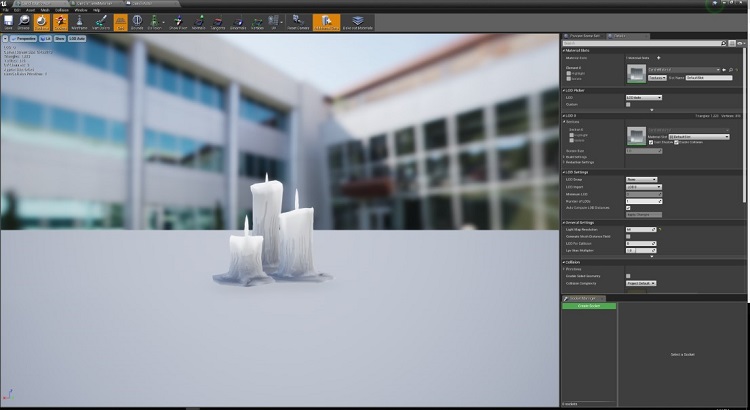
Figure 3. Candle model preview
Make the Flame Material
The main visual presentation of the flame is a flame effect. To create this effect, you make the flame materials and then use that as the particle material. The shaking effect of the flame burning is represented in the flame material by superimposing the noise texture over the original texture of the flame.
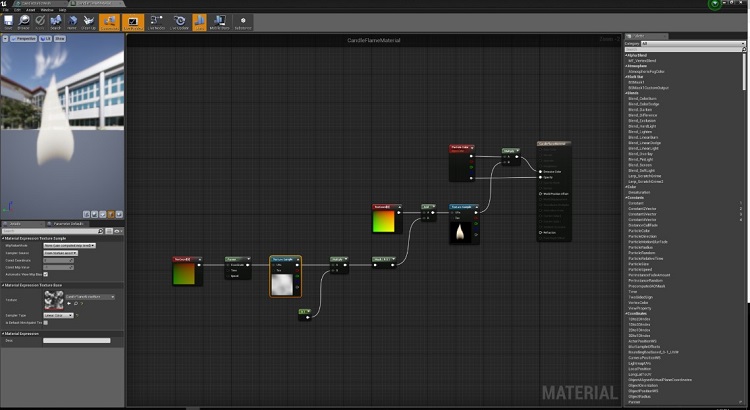
Figure 4. Flame material
How to Make Flame Particles
You build a particle system by selecting the required module, and then specifying the material used by the transmitter as the flame material made before. To do this, follow these steps:
- Set the screen alignment to PSA (Particle Screen Alignment) Rectangle. This achieves the effect of always facing the camera and controls the shape of the flame (aspect ratio) through SizeX and SizeY. (See Figure 5. )
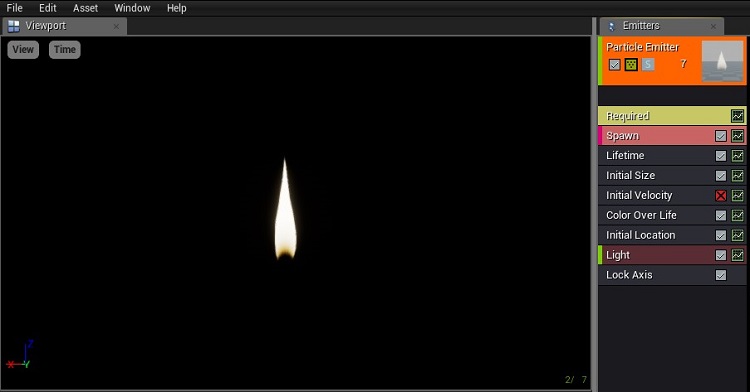
Figure 5. Parameters of flame particles - Use the Initial Size module to set the initial size of the flame, select the Distribution Vector Constant distribution, and then only set X and Y parameters. Because the particles always face the camera, Z-axis settings will not take effect.
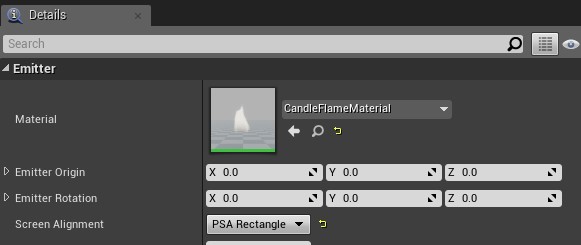
Figure 6. Set material and screen alignment. - Set the generation rate of the particle spawn module and the particle lifetime of the Lifetime module to simulate the real flame effect as far as possible.
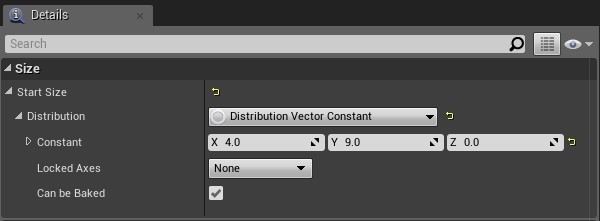
Figure 7. Set the initial particle size.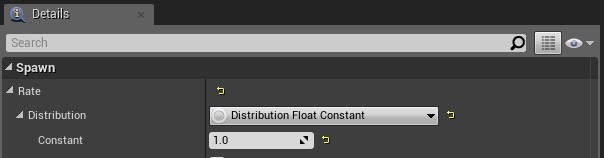
Figure 8. Set particle production rate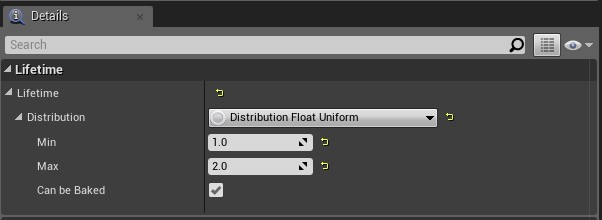
Figure 9. Set the survival time of particles
Add Particle Light
After making the basic effects of particles, add Light module to the transmitter to achieve the illumination effect of the flame, which will accompany the life cycle of the flame. Use Brightness Over Life to set the light brightness according to the life cycle of particles, Radius Scale to set the light radius, and Light Exponent to set the intensity of light.
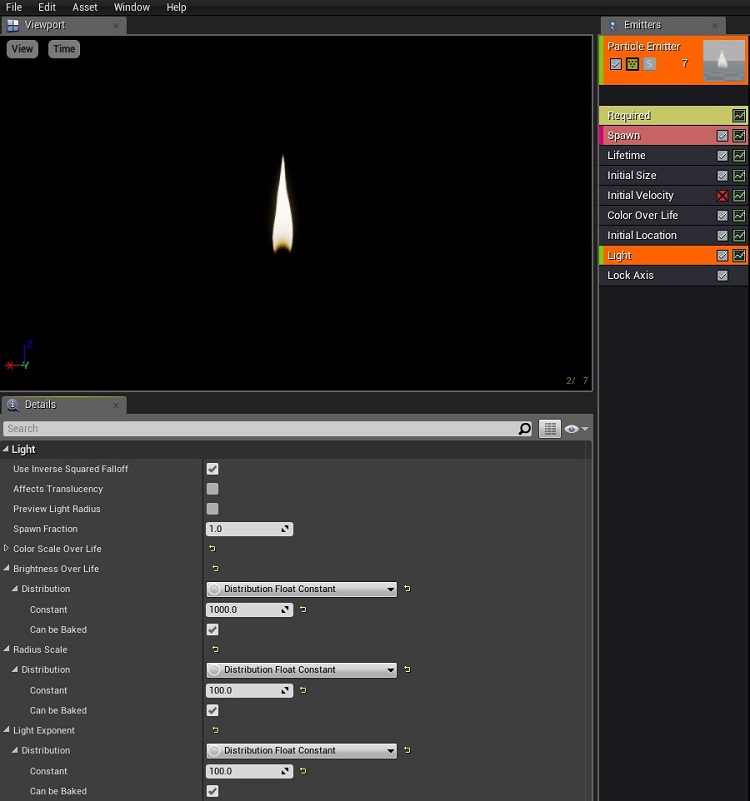
Figure 10. Add light module
In addition, set the color of particles and the color of particle light through the Color Over Life module.
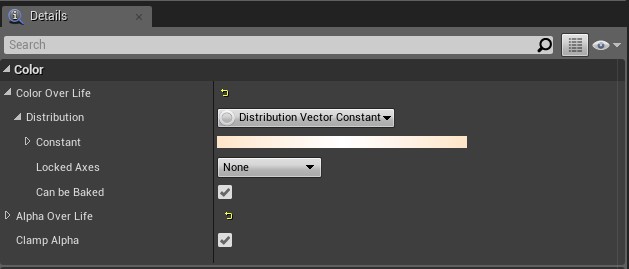
Figure 11. Set the color of particles and light
Integrated Preview
Once the model content of the flame and the candle is ready, we need to combine the two in order to easily add them to the game scene. This part is accomplished by creating a Blueprint class, using Actor as the parent class when creating. Next, we import the candle model and add the flame particle system already completed. Since our candle model has three candles, we need to add a particle system of three flames and adjust the relative position of the flames and the model.
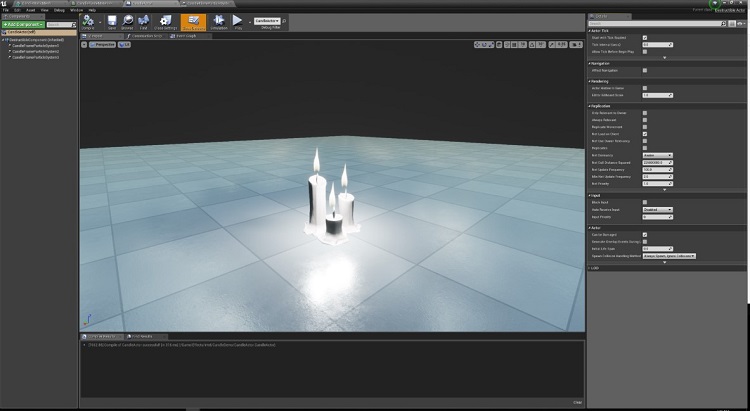
Figure 12. Preview of candle making
The main production content of candle decorations has been completed. Place the actor in the test level to see its effect in the game.
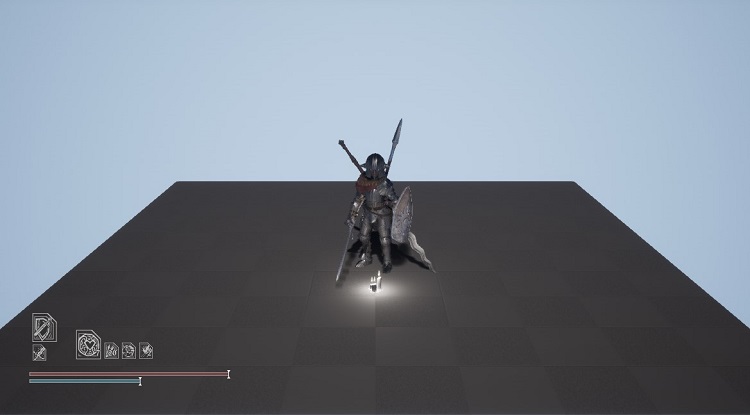
Figure 13. Candle level preview
Game Video
For a more in-depth view, the video below takes a look at the comparison of the results in the final game.
Material Download
The production materials in this article are provided by Dark Star Studio,the development team of Sinner: Sacrifice for Redemption, and completed with the assistance of Intel. Dark Star Studio used the MIT license for the sample project.
Here is the sample project repos URL:
View the sample project in GitHub.
Step Up Your Game
Access powerful developer tools and professional tutorials to help you imagine, plan, and design your next game. The Intel® Game Developer Program offers free libraries, performance analyzers, and other features to help you code more efficiently and optimize your game for Intel® architecture. Explore the benefits including access to exclusive code samples, and get inspired by go-to-market guides written by game developers.
"