Introduction
 This article gets you started with hands-on development, execution, and profiling of the Data Plane Development Kit (DPDK) application on your own laptop. This enhances portability as well as sharing and teaching developers, customers, and students in a scalable way.
About the Author

M Jay has worked with the DPDK team since 2009. He joined Intel in 1991 and has been in various roles and divisions: 64-bit CPU front side bus architect, 64 bit HAL developer, among others, before he joined the DPDK team. M Jay holds 21 US patents, both individually and jointly, all issued while working at Intel. M Jay was awarded the Intel Achievement Award in 2016, Intel's highest honor based on innovation and results.
Background
 To run and profile DPDK on the Linux* platform, please refer to the article Profiling DPDK Code with Intel® VTune™ Amplifier. If you don’t want to install Linux on your laptop, follow the steps in this article to learn how to configure your Intel® architecture-based Windows* laptop to develop, run and get started profiling DPDK applications.
Intel® VTune™ Amplifier, a performance profiler, will run natively on the Windows* OS so that it can access all the hardware performance registers. Developing and running DPDK applications will be done on an Oracle VM VirtualBox*.
The instructions in this article were tested on an Intel® Xeon® processor-based desktop, server, and laptop. Here we will use a laptop with the Windows OS.
If you have an Apple* laptop, the appendix provides information about systems based on the Mac OS*.
DPDK Application Building and Profiling – Components
- Intel® Atom™ or Intel Xeon processor-based system
- DPDK Applications
- Oracle VM VirtualBox
- Intel VTune Amplifier profiler
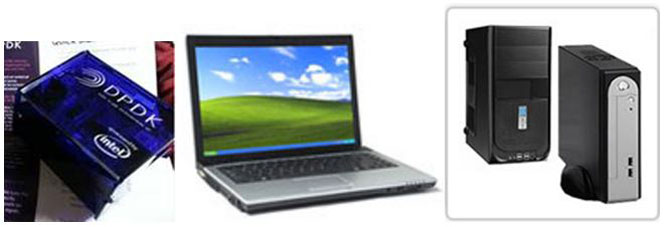
The platform can be any Intel® processor-based platform: desktop, server, laptop, or embedded system.
This article covers the following steps:
- Install and configure the Oracle VM VirtualBox.
- Import, build, and run DPDK applications.
- Install Intel VTune Amplifier and get started profiling.
Install and Configure the Oracle VM VirtualBox*
- Step 1: Make sure Intel® Virtualization Technology for Directed I/O (Intel® VT-d) Intel® Virtualization Technology for IA32, Intel® 64 and Intel® Architecture (Intel® VT-x) are enabled in the UEFI firmware/BIOS.
- Step 2: Download two images: the VirtualBox image and the extension packs for the same version.
- Step 3: Install VirtualBox.
- Step 4: Install the extension packs.
- Step 5: Verify that 64-bit guest virtualization is enabled.
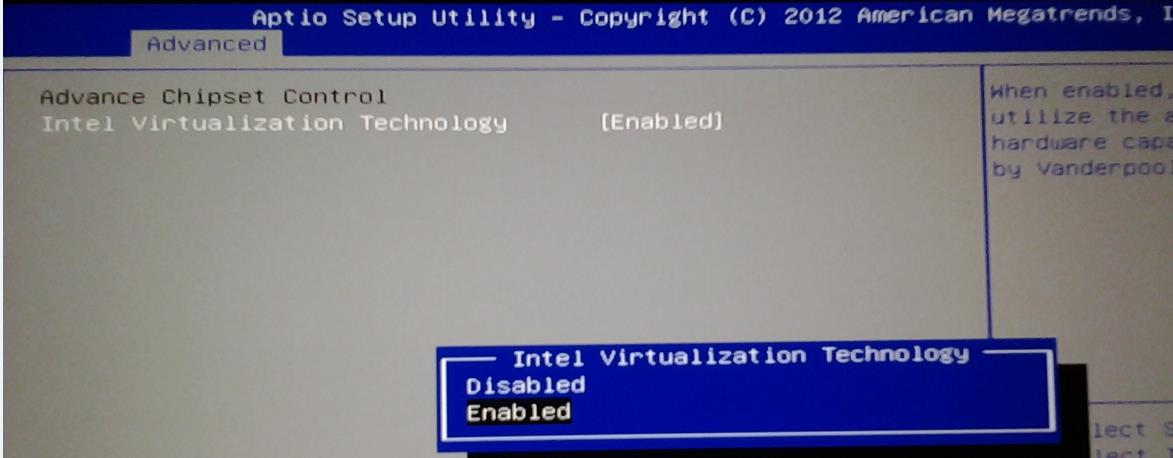
Step 1: Make sure Intel VT-d and Intel VT-x are enabled in UEFI firmware/BIOS.
This is needed to ensure 64-bit guests can be run; VT-d and VT-x need to be on.
Intel VT-d and Intel VT-x enabling will be under Advanced CPU settings or Advanced Chipset settings as mentioned below. First we need to get into safe mode and look into BIOS setting.
 Press the Windows button. You will see the following screen
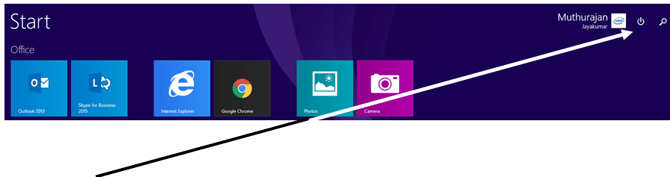
- Press the Power Switch icon.
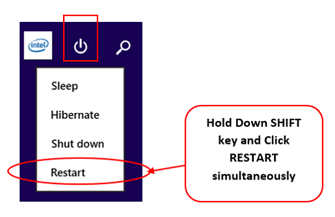
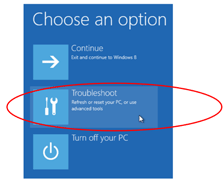
 You will see the following drop-down menu.
-
 To get into BIOS, press SHIFT+RESTART.
If you have a laptop installed with Windows* 8, go to safe mode (SHIFT+RESTART).
You will see the following settings. Note that depending on your computer, you may see different options.
-
To use advanced tools, choose Troubleshoot.
-
If the following screen displays, choose Enable Safe Mode to access the screen for the BIOS change.
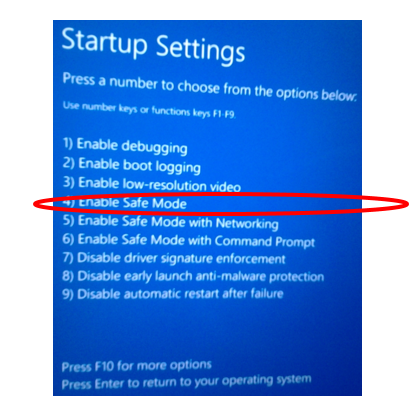
Once you have selected safe mode, you will be able to access additional options, as shown below.
 ;
; -
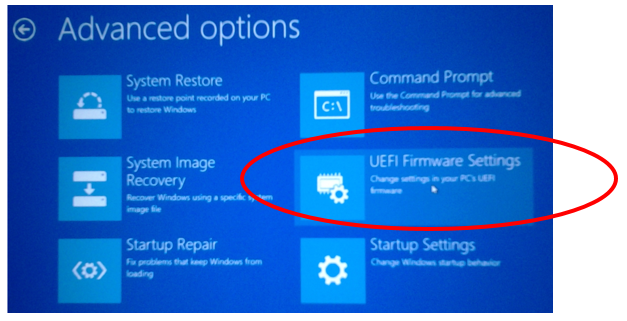
Select UEFI Firmware Settings
Note: In your system, it may be referred to as BIOS setting.
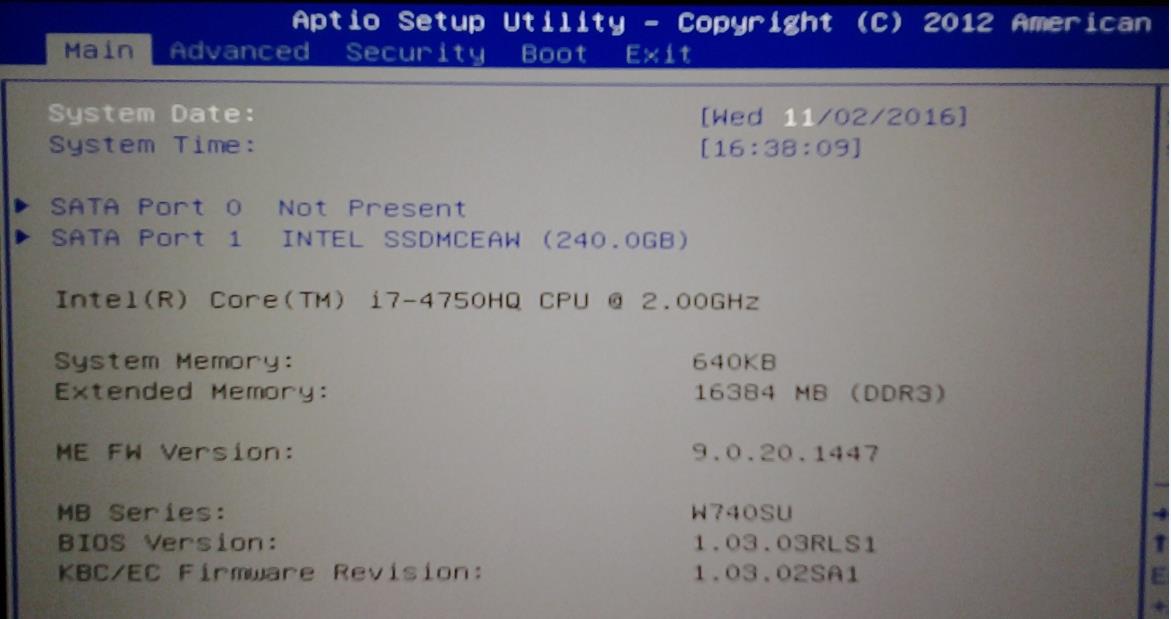
Depending on your vendor and BIOS, you will be able to access the Advanced setting or Advance Chipset Control or Advanced CPU Control. What you need to do is verify whether Intel VT is enabled. In certain BIOS models, it may display as VT-d and VT-x.
Some systems will have both a CPU section (for Intel VT-x) and a chipset section (for Intel VT-d) so you may have to look at both sections to enable virtualization.
Below are two screens: the CPU screen followed by the chipset screen. In this system, only the chipset screen has virtualization control.
-
Save and then exit.
Now the OS and applications come up.
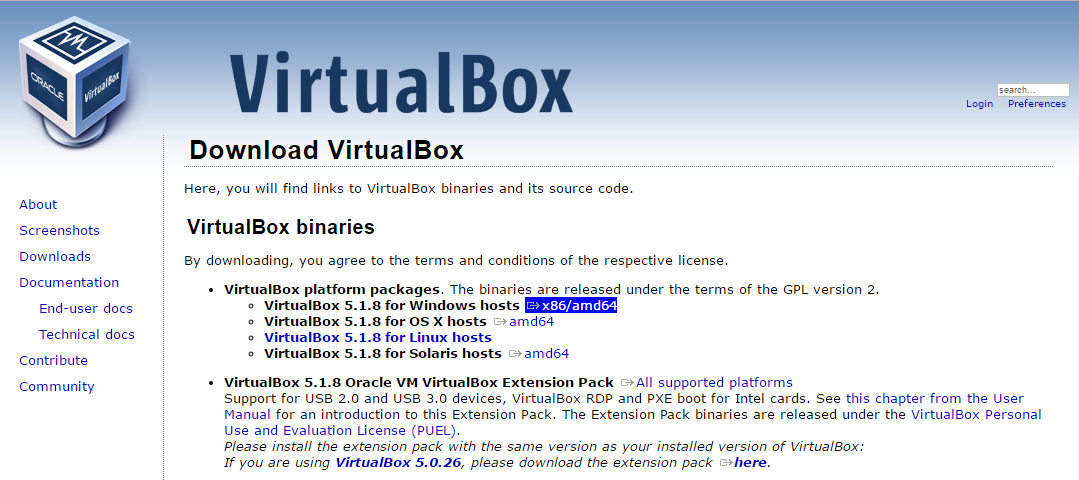
Step 2: Download two images: the VirtualBox Image and the extension packs for the same version
To access the downloads, go to https://www.virtualbox.org/wiki/Downloads
For Windows:
- Select VirtualBox5.1.8 (or the latest) for Windows hosts.
- Matching version number Extension Packs.
For OS X*:
-
Select VirtualBox5.1.8 (or the latest) for OS X hosts.
- Click and download the matching version extension.
Why install extension packs? What functionality do they provide?
Extension packs complement the functionality of VirtualBox.

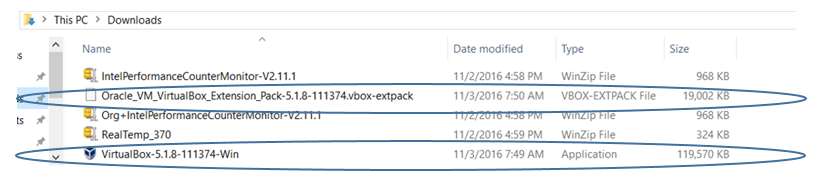
- Verify that both images downloaded in your system successfully.
Step 3. Install VirtualBox – Run As Administrator
- To start the install, right-click VirtualBox, and then select Run as administrator.
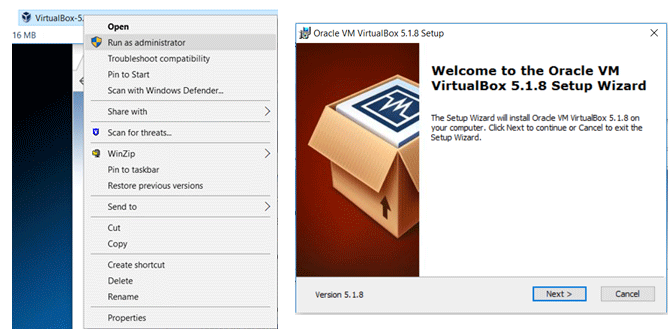
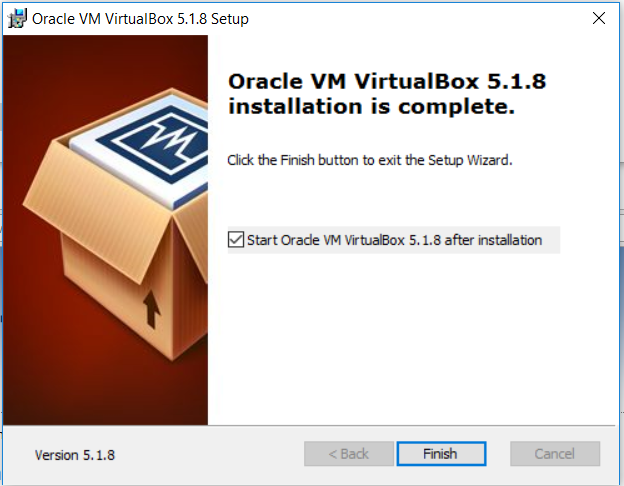
- Continue through the following screens.
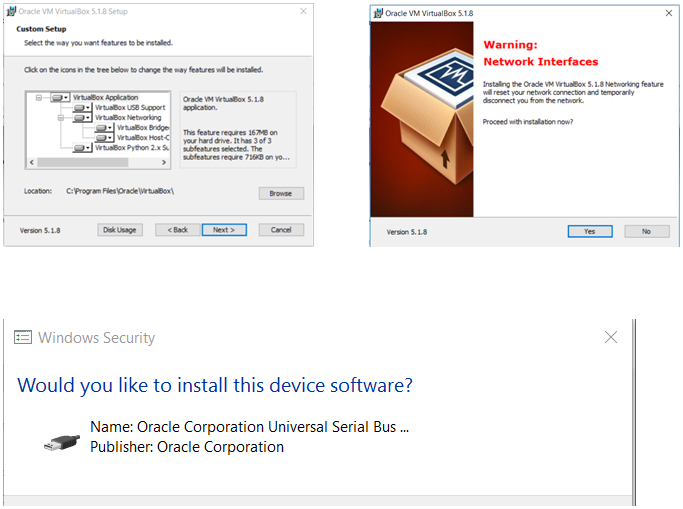
- For the screen above, press the left-arrow “<” to select INSTALL.
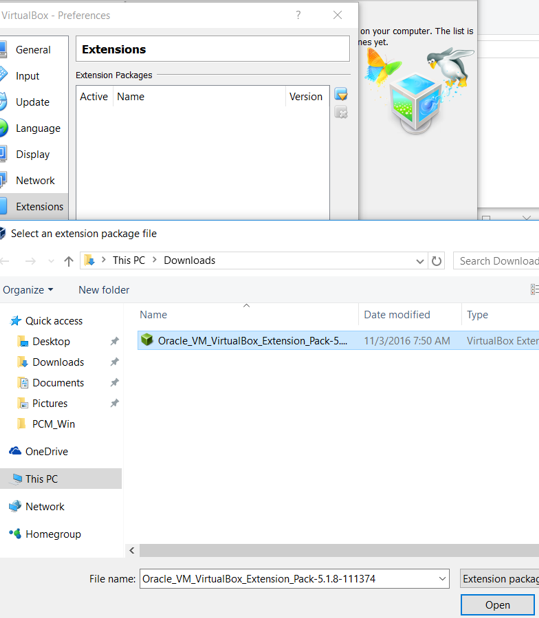
Step 4: Install the Extension Packs
- Click File, and then click Preferences.
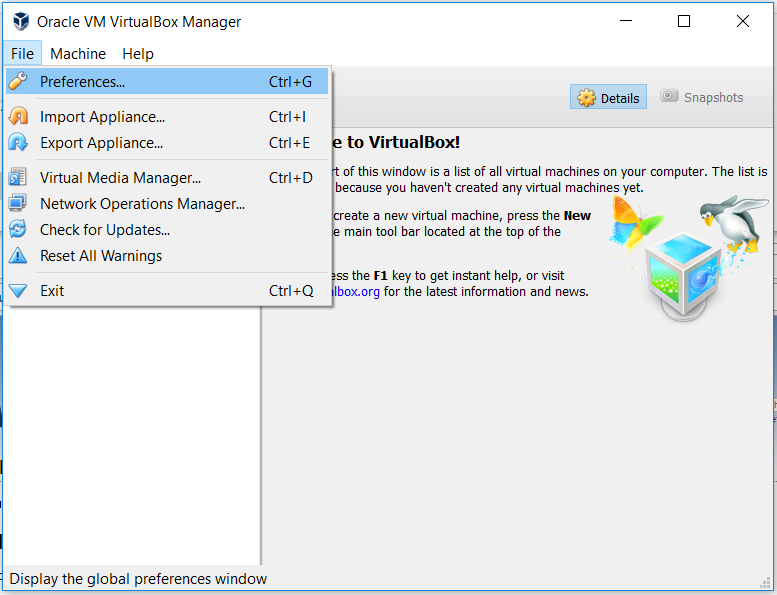
- Click Extensions.
- To select the extension packs download, browse, and then click the folder icon on the right, as shown by the arrow below.
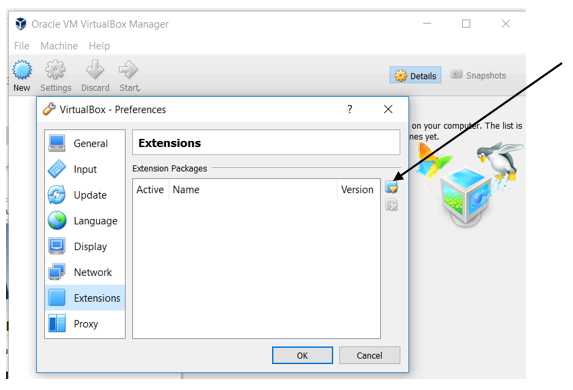
- Select the extension packs to install.
You will see the following success message: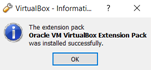
Step 5: Verify that 64-bit guest virtualization is enabled.
- Select New (shown by the arrow below) and choose OS Type “Linux”.
- Verify in the “Version” sub-menu whether 64-bit Ubuntu* is selectable. If so, the virtualization steps to enable Intel VT-d and Intel VT-x were successful.
Now you are ready to import the VMs. 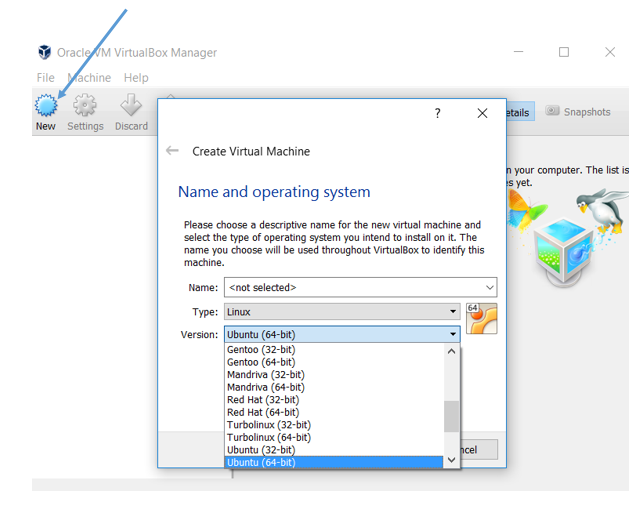
Note: If you don’t see 64-bit versions and see only 32-bit version, you’ll need to enable Intel VT-d and Intel VT-x correctly. Return to the BIOS setting steps under “Step 1: “Make sure Intel VT-d and Intel VT-x are enabled in UEFI firmware/BIOS.”
Import, Build, and Run DPDK Applications
In this article, we assume that you have plugged in a thumb drive with a copy of an exported DPDK application virtual machine that was built on a native Linux platform running DPDK. When you have connected the thumb drive, follow these instructions to import the VM.
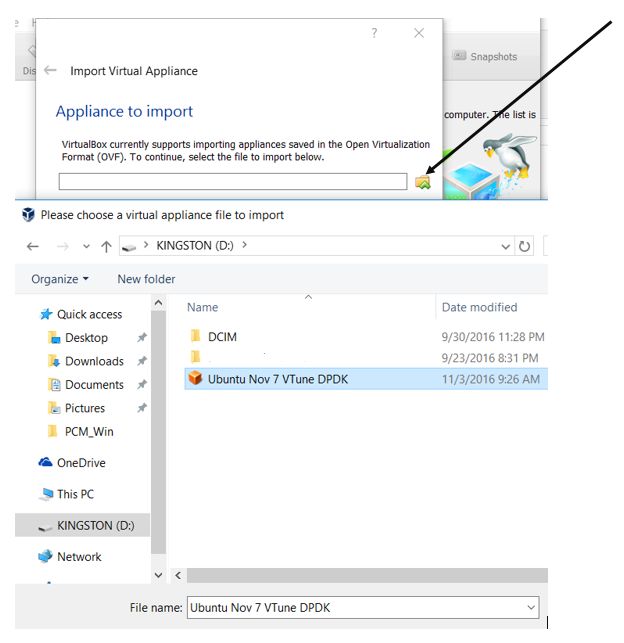
- Click File, and then click Import Appliance.
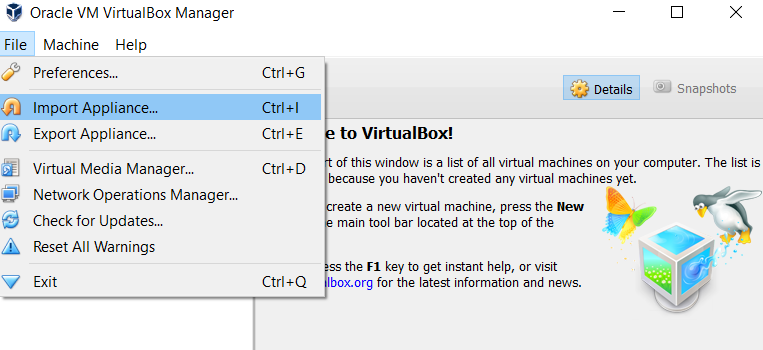
- Click the folder on the right (as shown by the arrow below) to select the VM to import.
-
Select the VM.
The following screenshot shows verification of the virtual appliance getting imported.
Example, as shown below: Ubuntu Nov 7 VTune DPDK.
-
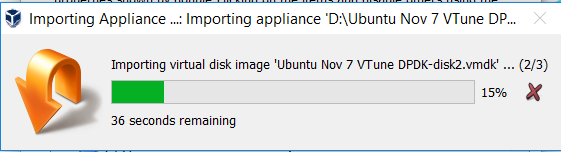
Select Import.
You will see the appliance being imported as shown below.
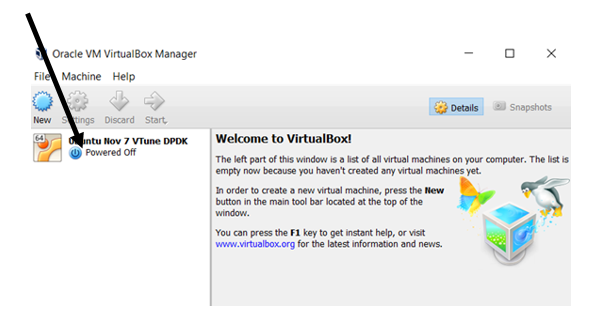
You have successfully imported the DPDK virtual appliance, as shown by the arrow in the screenshot below.
You have successfully launched DPDK running in the Ubuntu guest OS with VirtualBox on your laptop as shown below.
-
Select the Imported DPDK appliance.
-
To start the imported DPDK appliance, click Start.
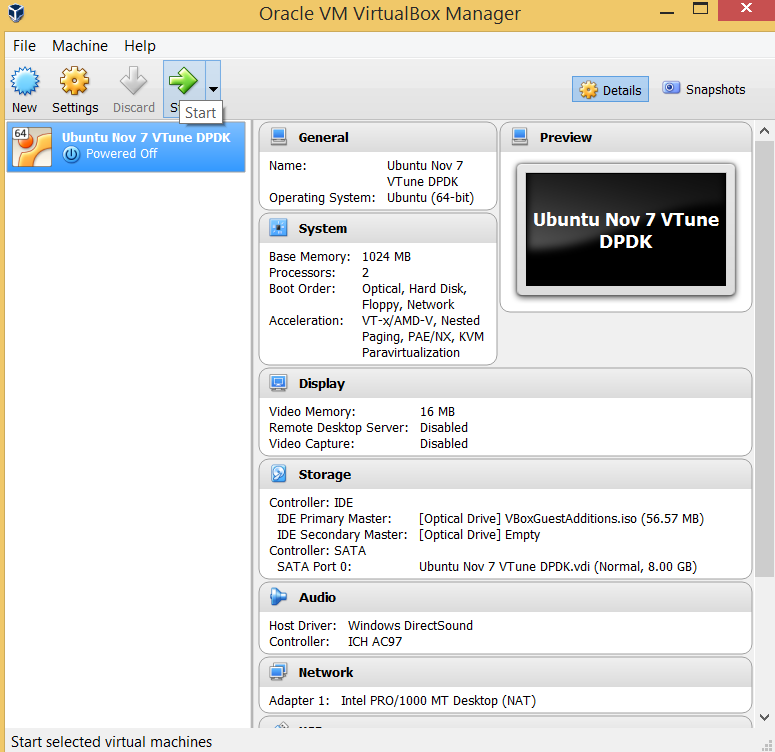
You have successfully launched DPDK running in the Ubuntu guest OS with VirtualBox on your laptop as shown below
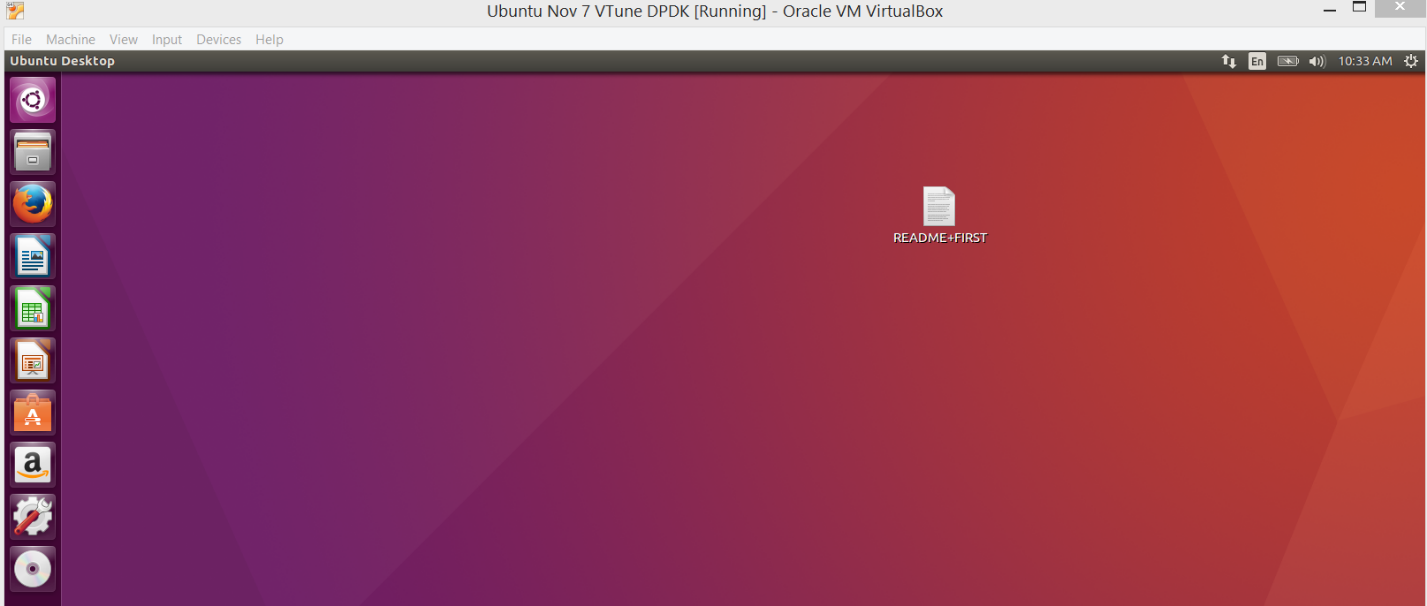
Now you can start your own development by developing applications, building, and running. To get started, locate the README_FIRST file, as shown in the above screenshot. Click open and you’ll find instructions to run DPDK microbenchmarks and other applications.
Quick Profile View using Windows Task Manager
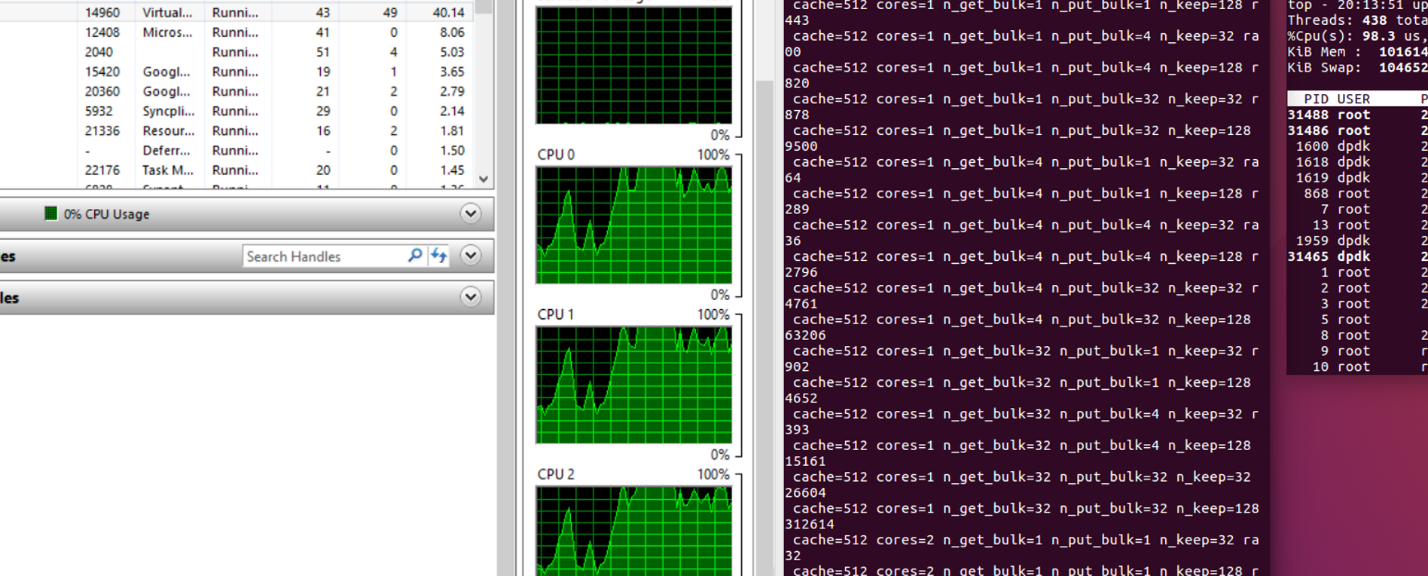
Let’s say you want to know where cycles are being spent in the system. You can use Task Manager to have get a bird’s-eye view first. Then you can dig into Intel VTune Amplifier.
The screenshot below shows the CPU cycles and tasks running, with Windows Task Manager showing CPU utilization running the DPDK application as a guest with VirtualBox.
Install Intel® VTune™ Amplifier
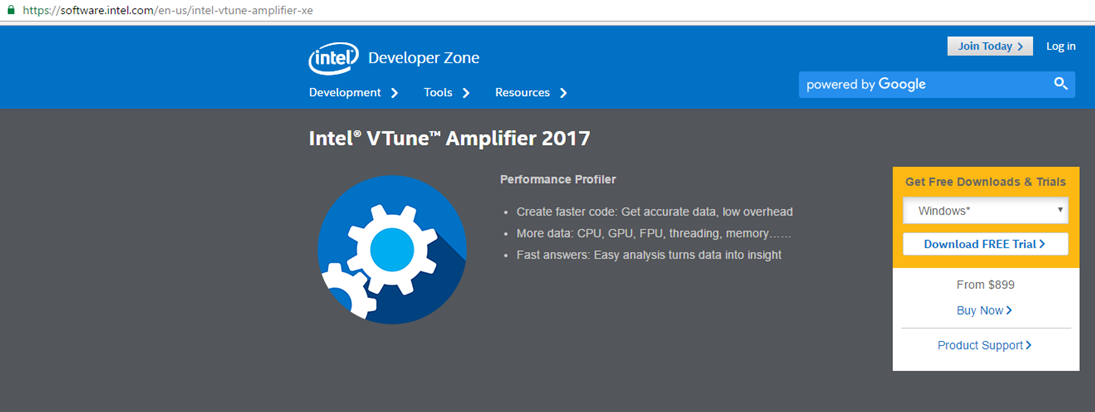
- Go to https://software.intel.com/en-us/intel-VTune-amplifier-xe
- Under Get Free Downloads & Trials, choose Windows*, and then click Download FREE Trial.
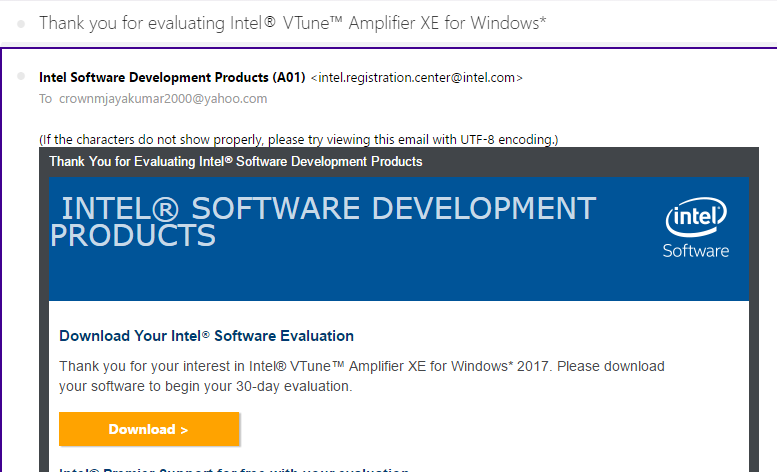
- On the form, enter your email information to which the download link will be sent.
- Check your email inbox for an email titled “Thank you for evaluating Intel® VTune™ Amplifier XE for Windows*. (Note: Search in your e-mail’s trash folder in case you don’t see it)
- Click Download.
The Activation Acknowledgement page displays with the Download Now button, as shown below.
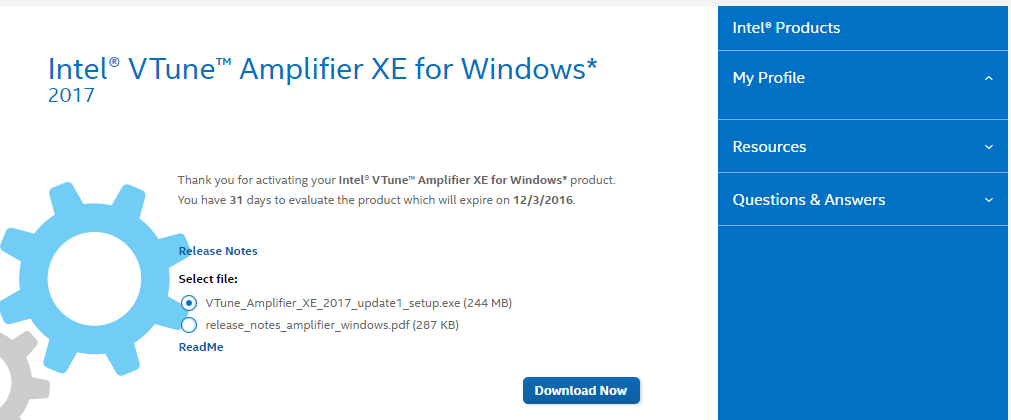
- Click Download Now.
- Print the “What’s New?” document
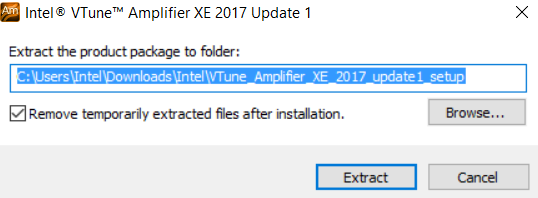
Once the download has completed, as shown below you will have the VTune _Amplifier_XE_2017_update1_setup.exe image

- Double-click the extracted setup image. You will see the following confirmation.
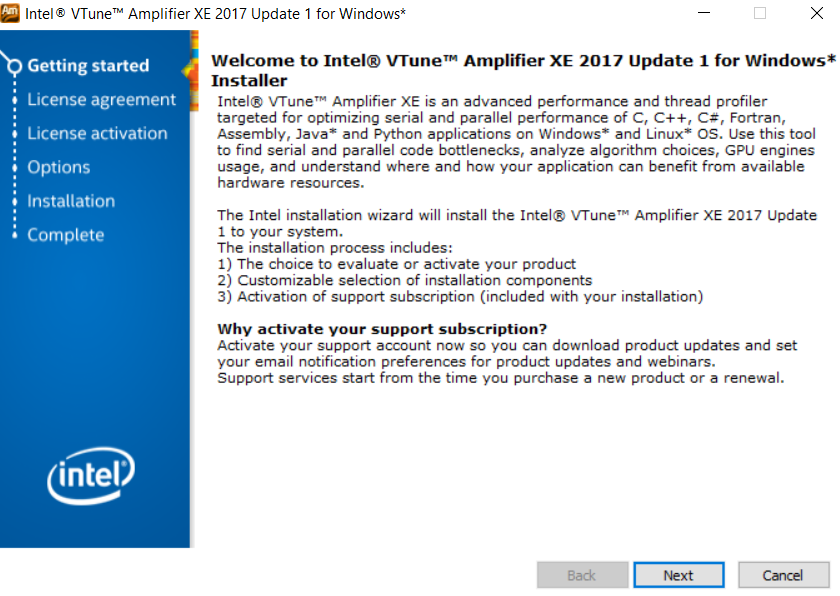
- On the welcome page, click Next.
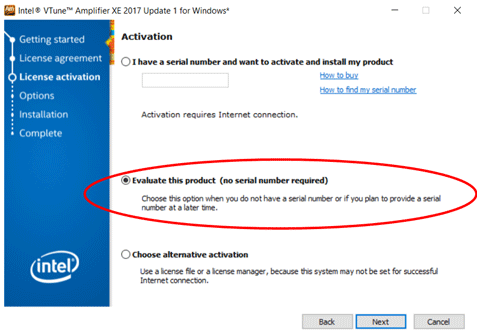
- In the following screen, select Evaluate this product (no serial number required).
- Click through the successive screen to complete the install.
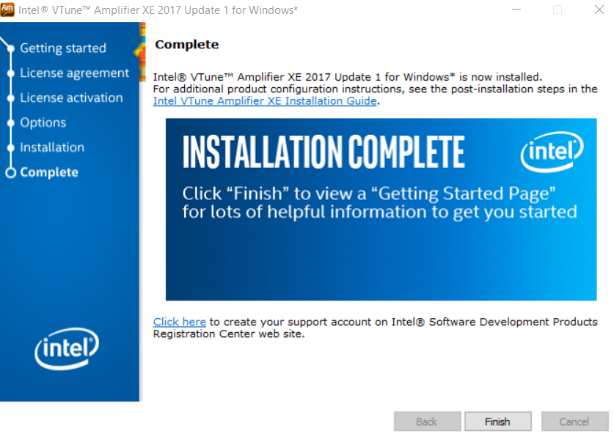
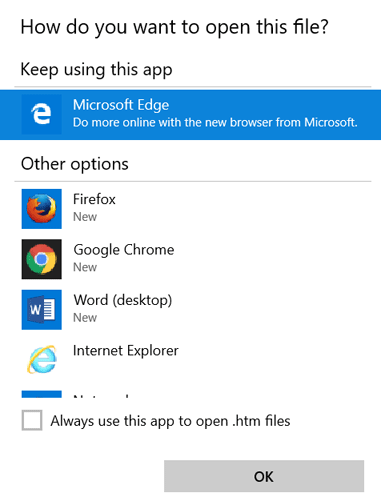
- On the following screen, leave “How do you want to open this file?” as the default and click OK.
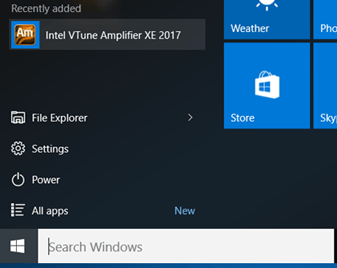
- Press the Windows button. You will see the installed Intel VTune Amplifier title as shown below.
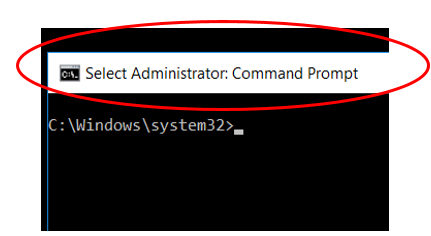
The next step is to open a terminal as an administrator. It is important to access Intel VTune Amplifier as an administrator.
- In the Search Windows box, type: cmd (shown below as the first step).
- Right-click Command Prompt (shown below as the second step).
- On the scroll-down menu, choose Run as administrator.
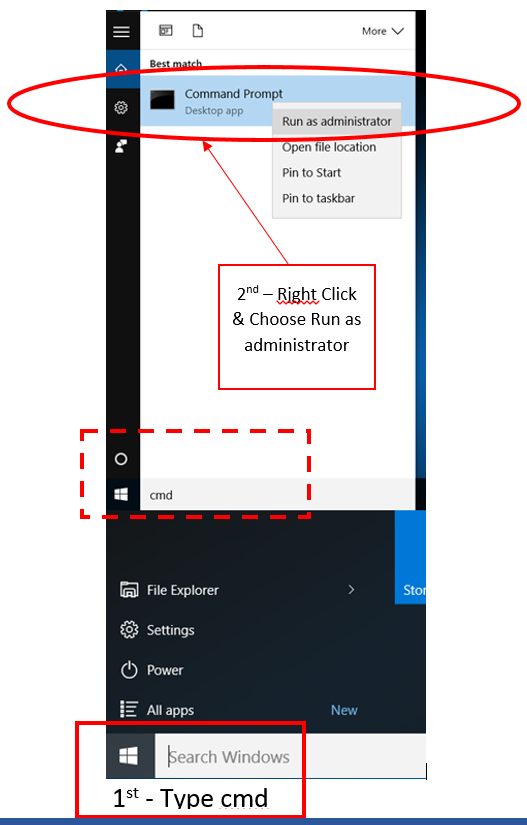
- Verify that the terminal opened is titled Administrator.
The next step is to verify that the system is ready and the install was successful.
C:cd Program Files (x86)\IntelSWTools\VTune Amplifier XE 2017\bin32- To verify whether your system meets the needs of hardware-event-based sampling, type:
amplxe-sepreg.exe –cThe following message screen should display.
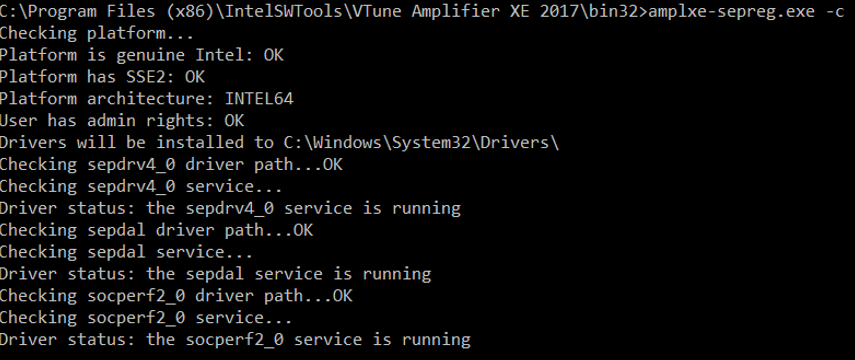
The screen above indicates that you have successfully verified the correct dependency checks required to install the sampling driver:
- Platform, architecture, and OS environment
- Availability of the sampling driver binaries: sepdrv4_0.syssep3drv.sys and sepdal.sys
- Administrative privileges
- 32/64-bit installation
- To check whether the sampling driver is loaded, type:
amplxe-sepreg.exe –sThe following message screen should display.
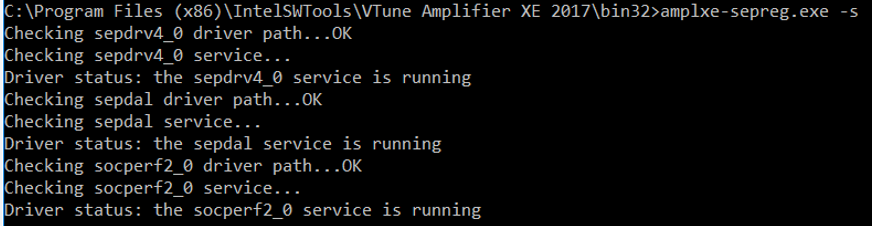
The screen above indicates that the sampling driver loaded successfully.
NOTE: If the sampling driver did NOT successfully load, refer to Appendix 3. Do NOT enter the command in Appendix 3 if you see the above success message.
What’s next?
The default installation path for the Intel VTune™ Amplifier XE is
[Program Files (x86)]\IntelSWTools\VTune™ Amplifier XE cd \Progam Files (x86)\IntelSWTools\VTune™ Amplifier XE 2017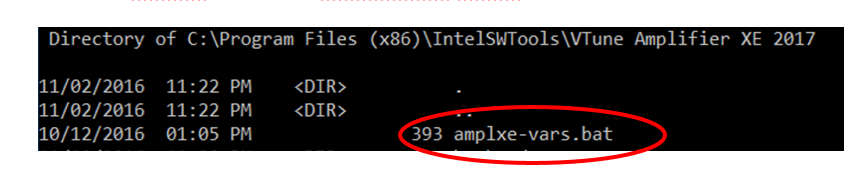
amplxe-vars.bat- run the batch file as shown below
You have set the needed environment variables successfully. You will get output as shown below

The final step is to run Intel VTune Amplifier.
amplxe-gui- run VTune; the GUI version is shown below
You will see the welcome screen as shown below.
Be sure to print the items circles below: Getting Started and Discover Performance Snapshots.
Start practicing by clicking New Project (also circled)
To get hands-on practice, please refer to the sections after “Starting Intel VTune Amplifier” in the following article: Profiling DPDK Code with Intel® VTune™ Amplifier
Also refer to the resources given in the reference section of the above article for videos and articles. 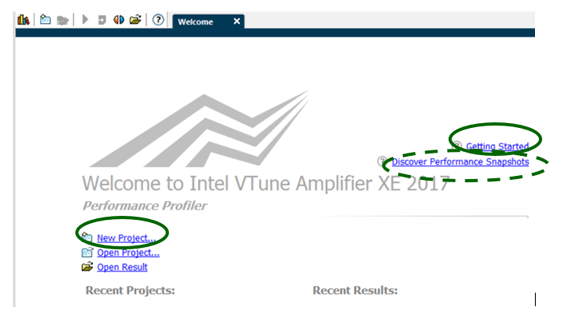
Next Steps
With the above hands-on exercise, you have successfully completed your “DPDK-On-The-Go” hands-on exercise.
As your first step, please register on the DPDK mailing list http://www.dpdk.org/ml/listinfo/dev
Also, we encourage you to play an active role in our meetups and DPDK community: www.dpdk.org
Please provide your feedback on this article to Muthurajan.Jayakumar@intel.com within 2 weeks after you go through your hands-on experience.
Exercises for the Readers
- How do you virtualize network devices in your host to present to VirtualBox appliances?
- How do you share your host file system with VirtualBox appliances?
- When you configure for sharing, what happens when you export the Virtual Appliance?
- What parameters in Intel VTune Amplifier do you look for in case you feel your application is compute bound?
- Same question as above, with your application being a) memory bound, b) I/O bound?
Appendix 1: How to Enable Intel® Virtualization Technology in a Mac* Computer
This article’s instructions were tested on a laptop with the Windows OS. Here are some references for the Mac regarding enabling Intel VT.
http://kb.parallels.com/en/5653
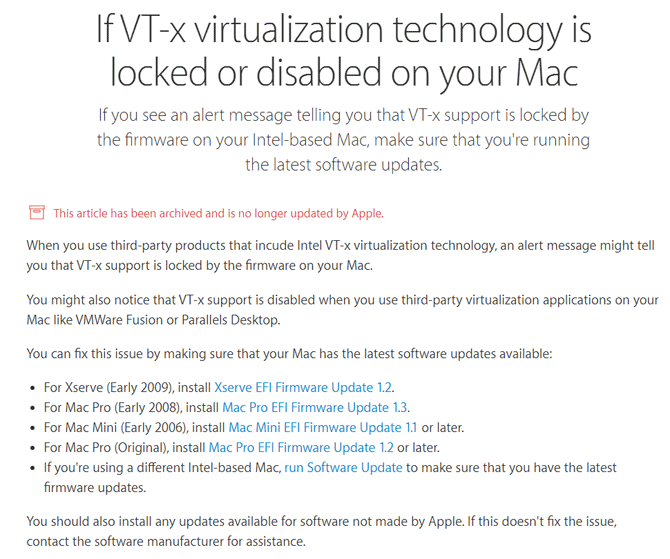
https://support.apple.com/en-us/HT203296 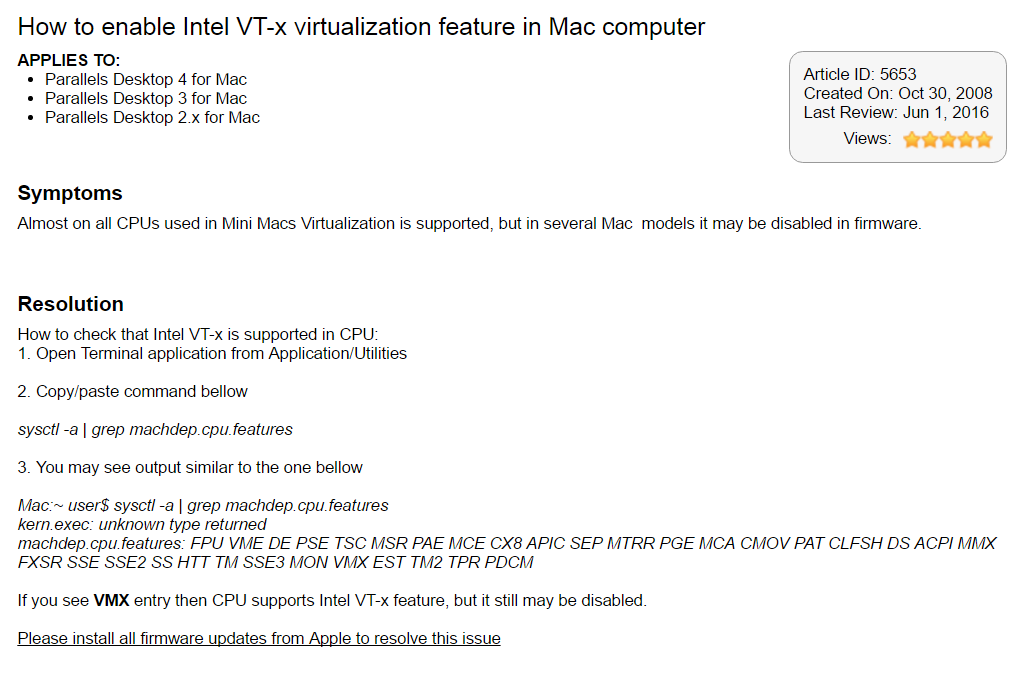
Appendix 2 – Potential Items to Watch Out for
- Event-based sampling analysis: To install the drivers on Windows 7 and Windows* Server* 2008 R2 operating systems, you must enable the SHA-2 code signing support for these systems by applying Microsoft Security update 3033929: https://technet.microsoft.com/en-us/library/security/3033929. If the security update is not installed, event-based sampling analysis types will not work properly on your system.
Appendix 3 – In case the sampling driver is not installed
If the sampling driver is not installed but the system is supported by Intel VTune Amplifier, execute the following command with the administrative privileges to install the driver:
amplxe-sepreg.exe –I
Appendix 4 – Intel VTune Amplifier for Mac Computers
While Intel VTune Amplifier 2017 can run on Windows and Linux systems, the profiled results can be seen on OS X.
So you can run the DPDK applications with VirtualBox in Mac computers. For profiling you can use native tools that come with OS X.
And you can use the Viewer given below to view the output Intel VTune Amplifier generated on Windows or Linux machines.
Please refer to the article How to Download and Evaluate the VTune™ Amplifier OS X* Viewer
References
DPDK-in-a-Box uses Minnowboard Turbot Single Board Computer.
Profiling DPDK Code with Intel® VTune™ Amplifier
Video: Intel® VTune™ and Performance Optimizations
DPDK Performance Optimization Guidelines White Paper