This article provides a step-by-step guide to show you how to set up a connection to IBM Bluemix* using MQTT, as well as command and code samples for additional setup and ease of use.
IBM Bluemix* IoT initial setup
-
Create an account, if you do not yet have one.

-
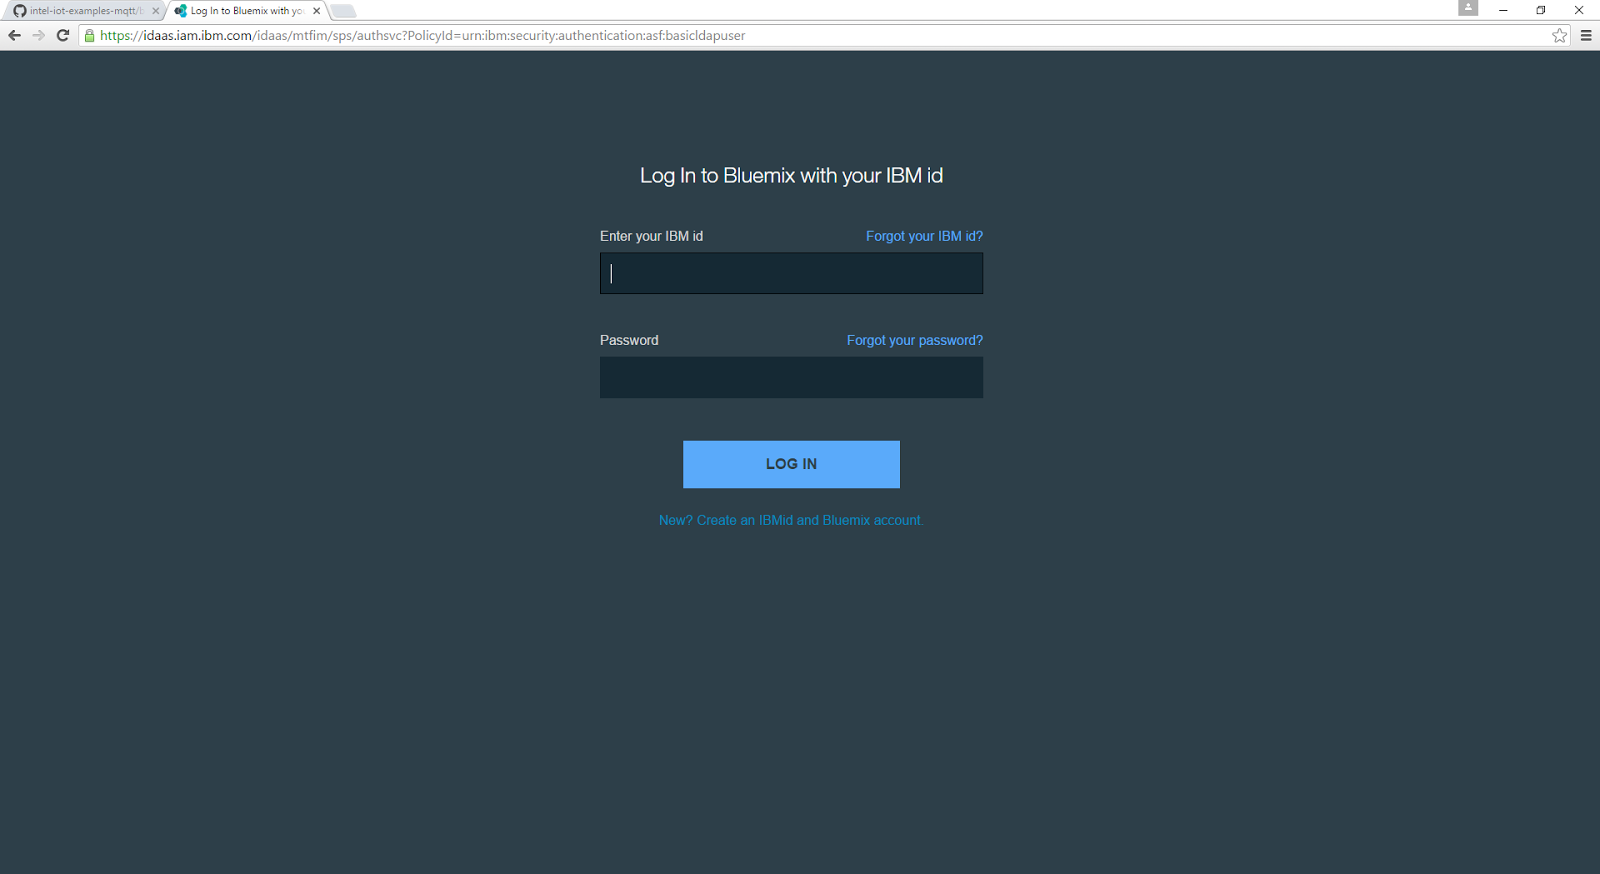
Log into your account.
-
Select New Dashboard if that option is presented.
Add an Internet of Things Platform
-
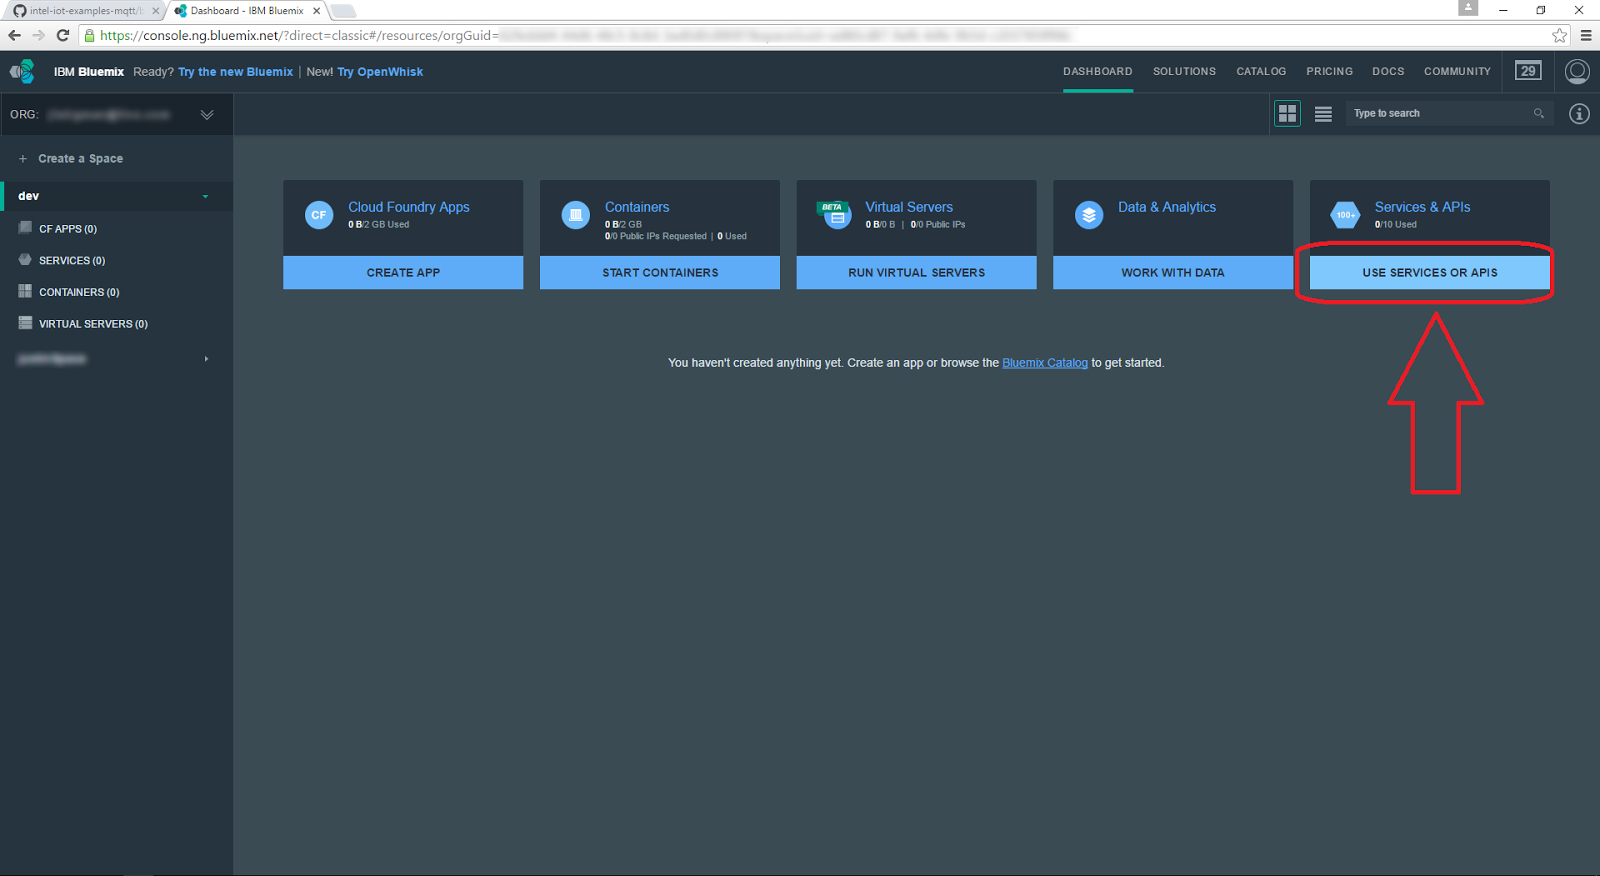
Go to your dashboard and click Use Services or APIs to add a new service.
-
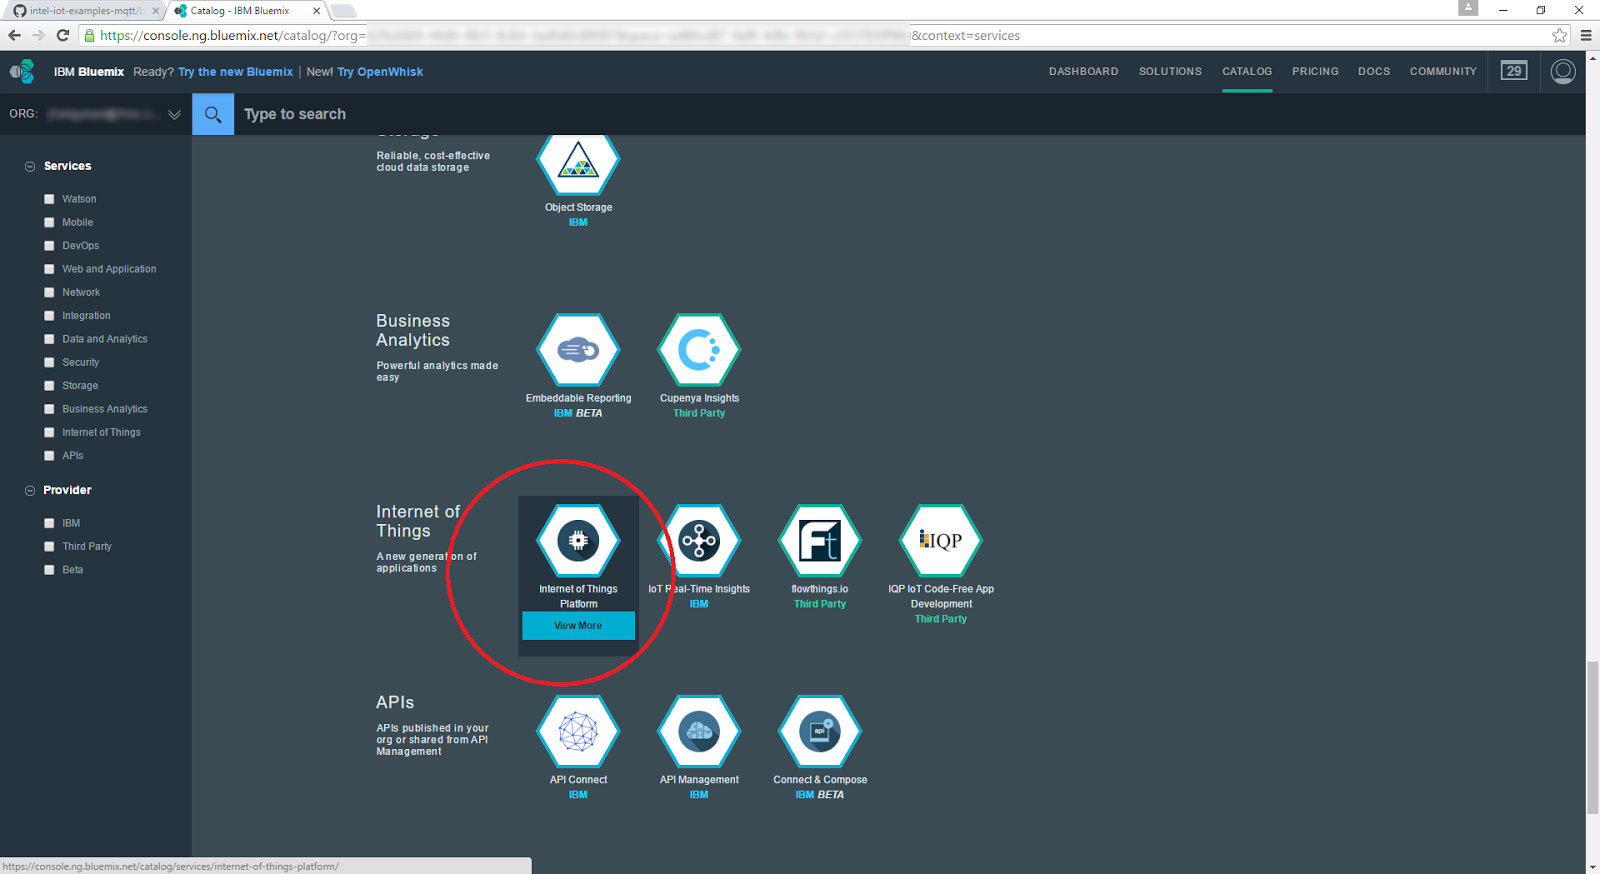
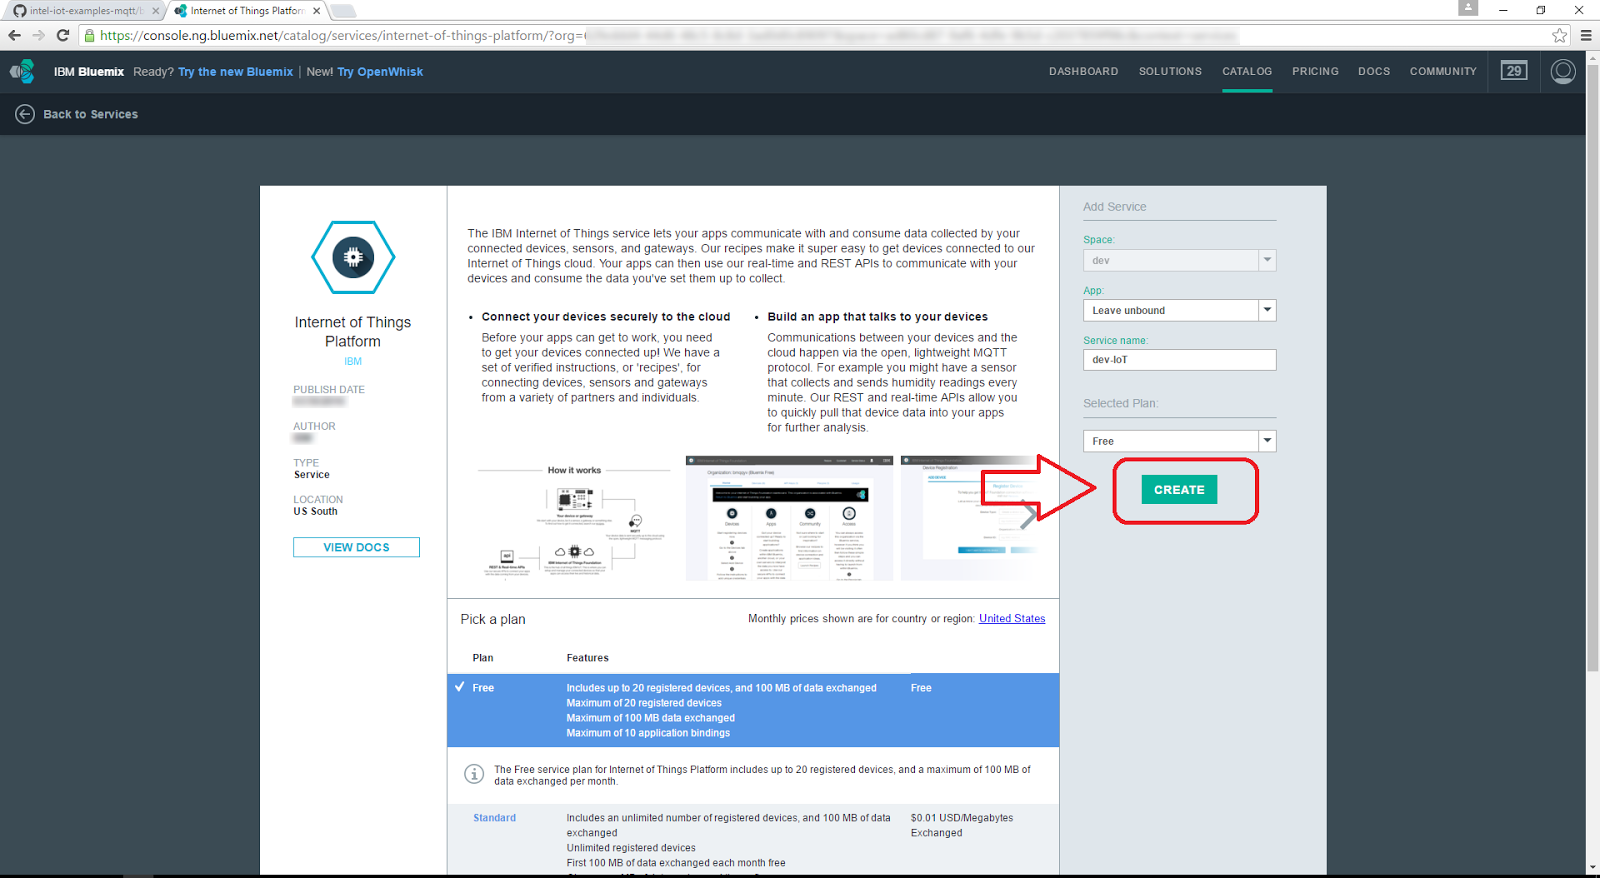
Click Internet of Things Platform.
-
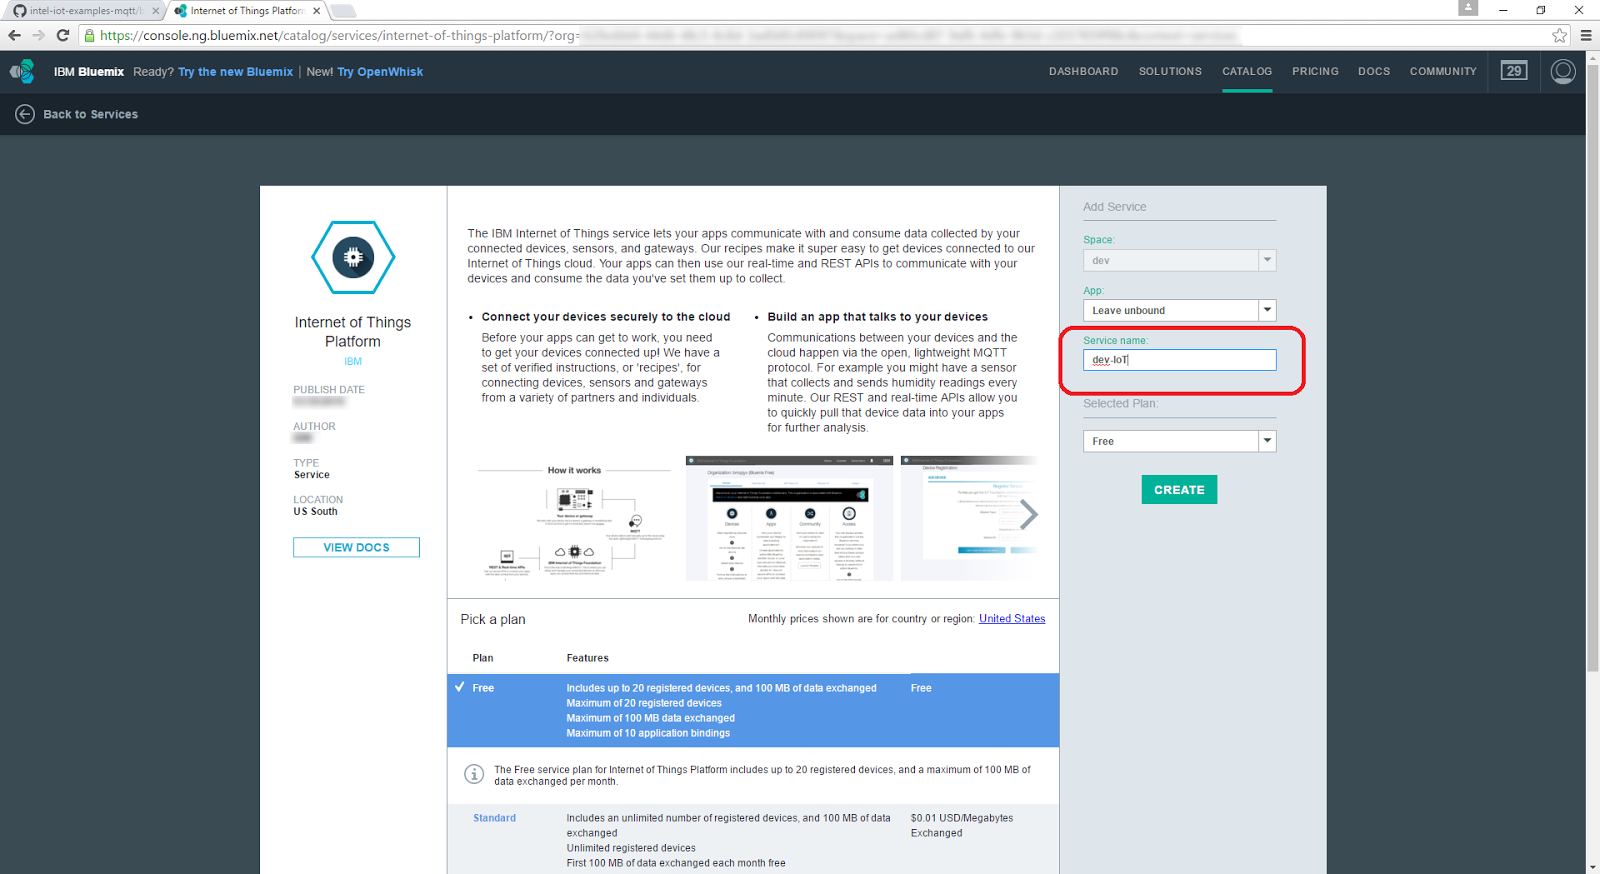
In the Service Name field, type a name of your choosing.
-
From the Selected Plan drop-down list, choose a pricing plan.

-
Click the Create button.
Add a device type
-
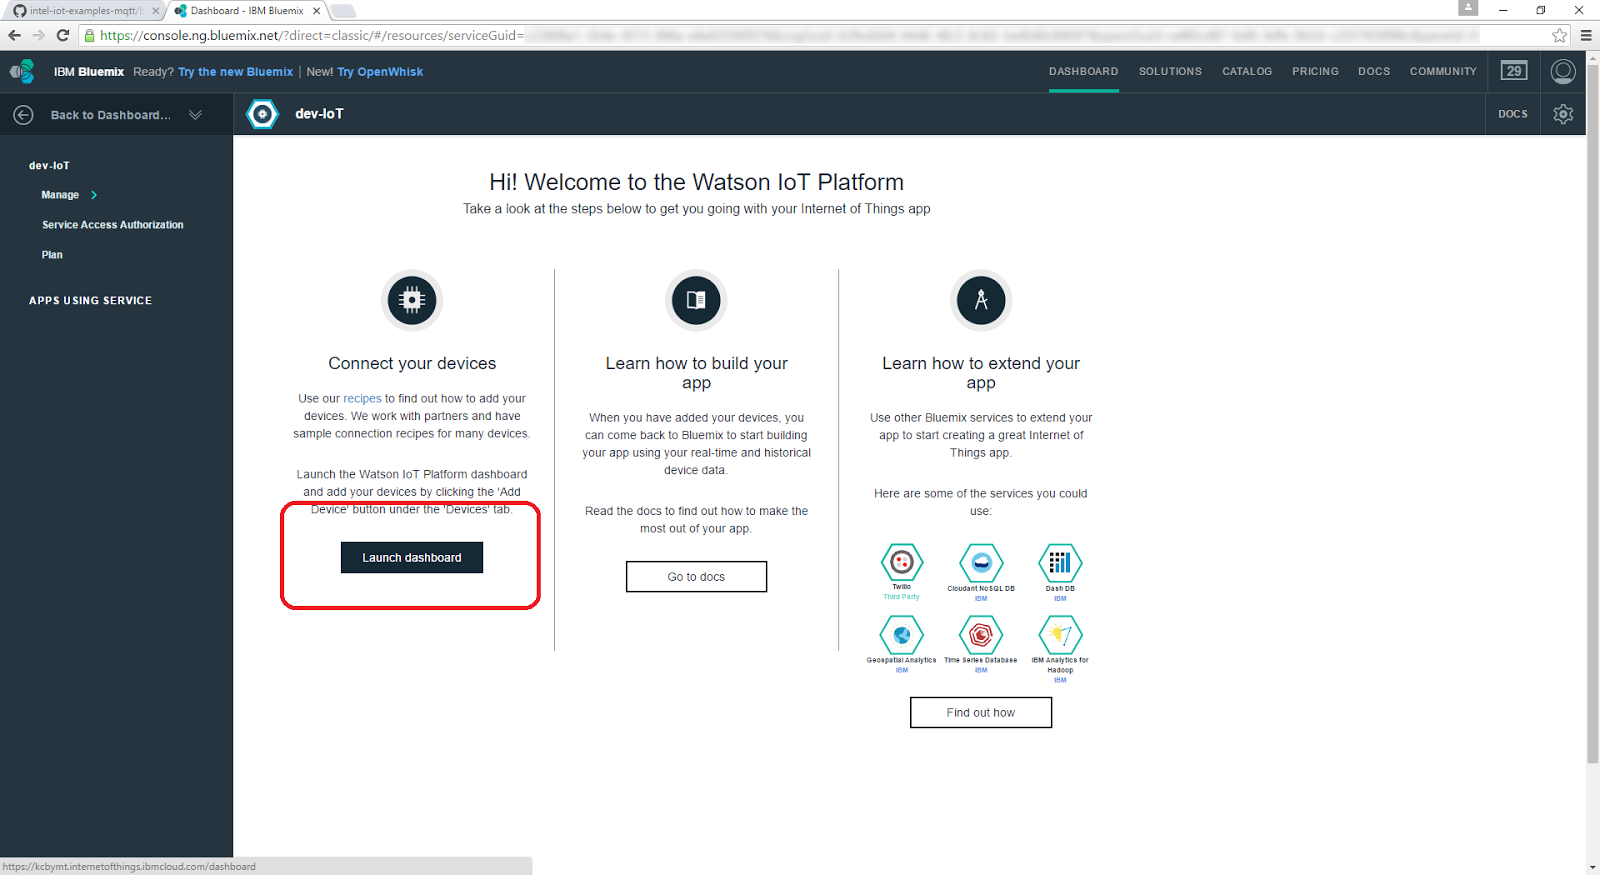
Under Connect your devices, click the Launch dashboard button.
-
This opens a new IBM Watson IoT* Platform window.
-
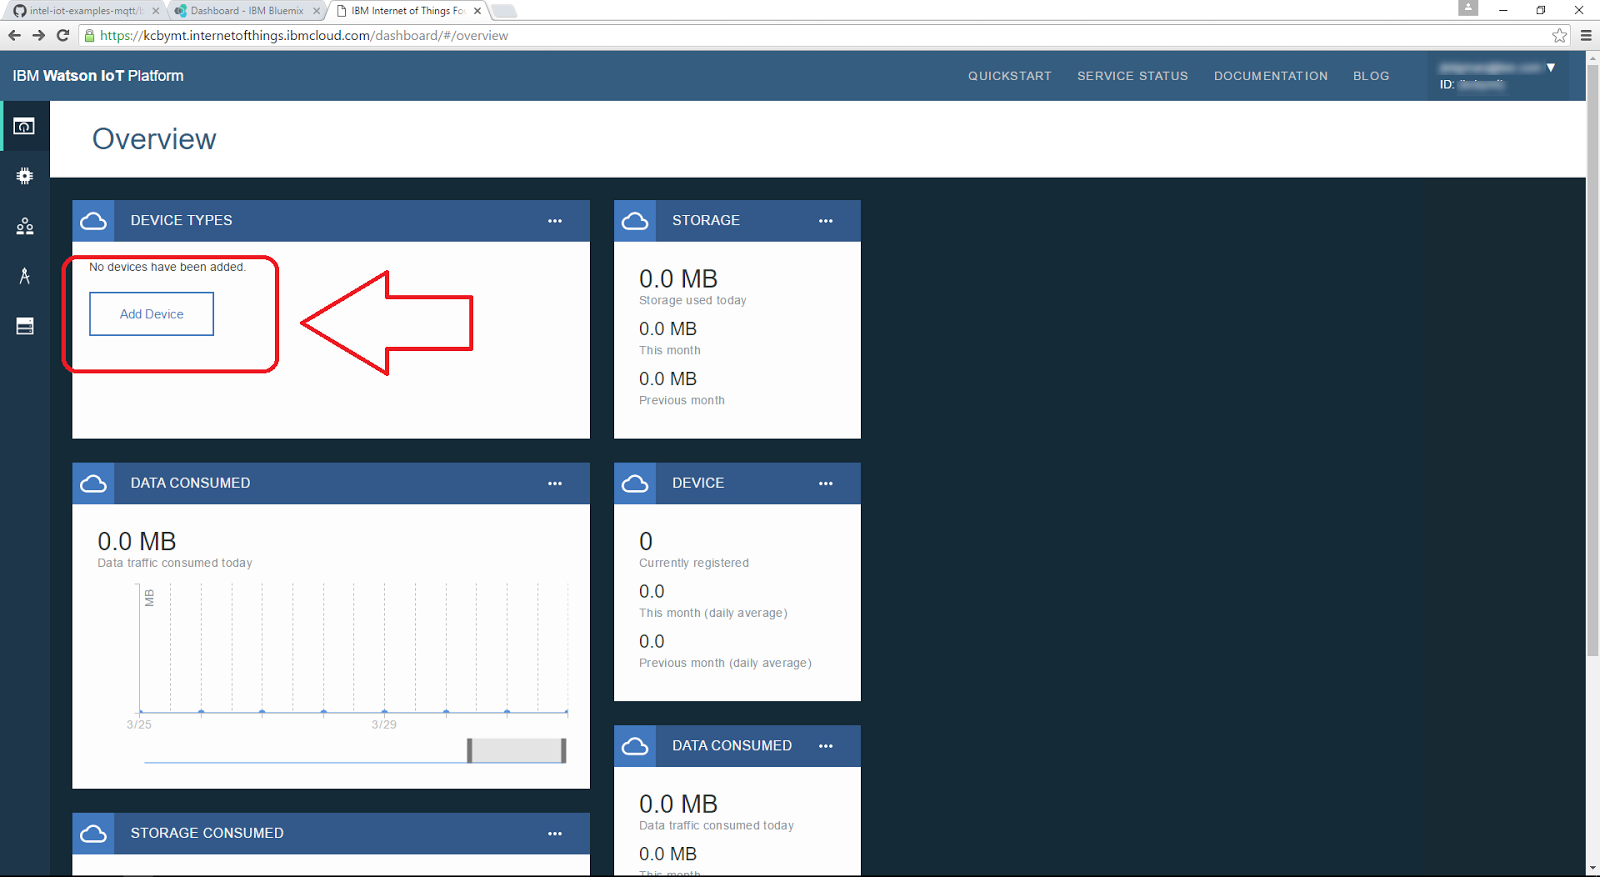
On the Device Types tile, click the Add Device button.
-
Click the Create device type button.
-
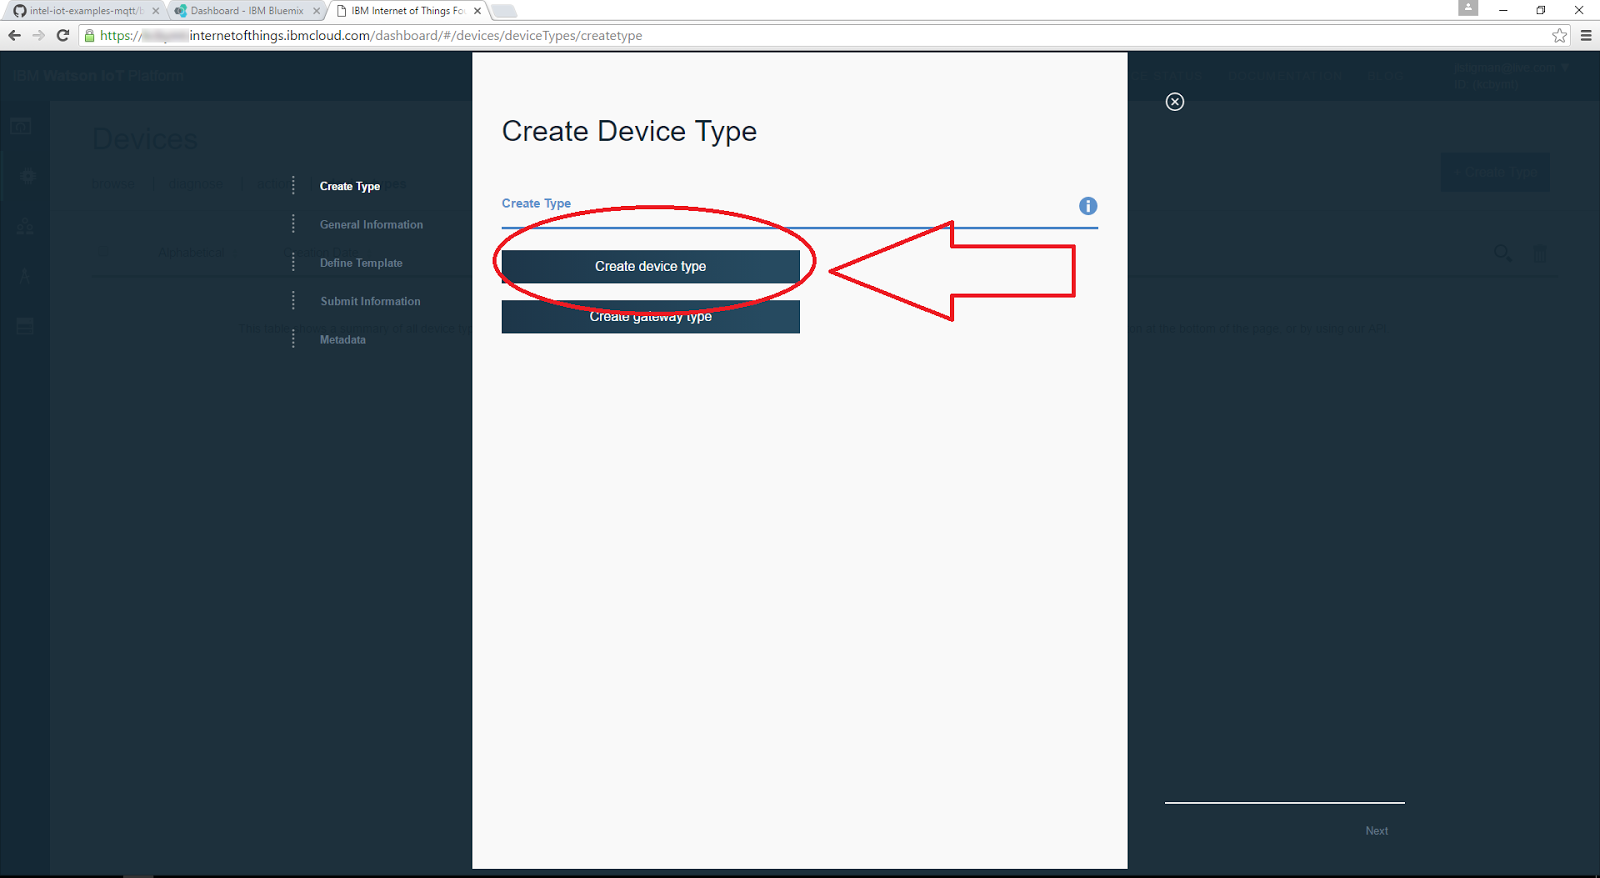
This opens the Create Device Type page.

-
Click the Create device type button.
-
Fill the Name and Description fields and click Next.

-
Specify the attributes for your template and click Next.
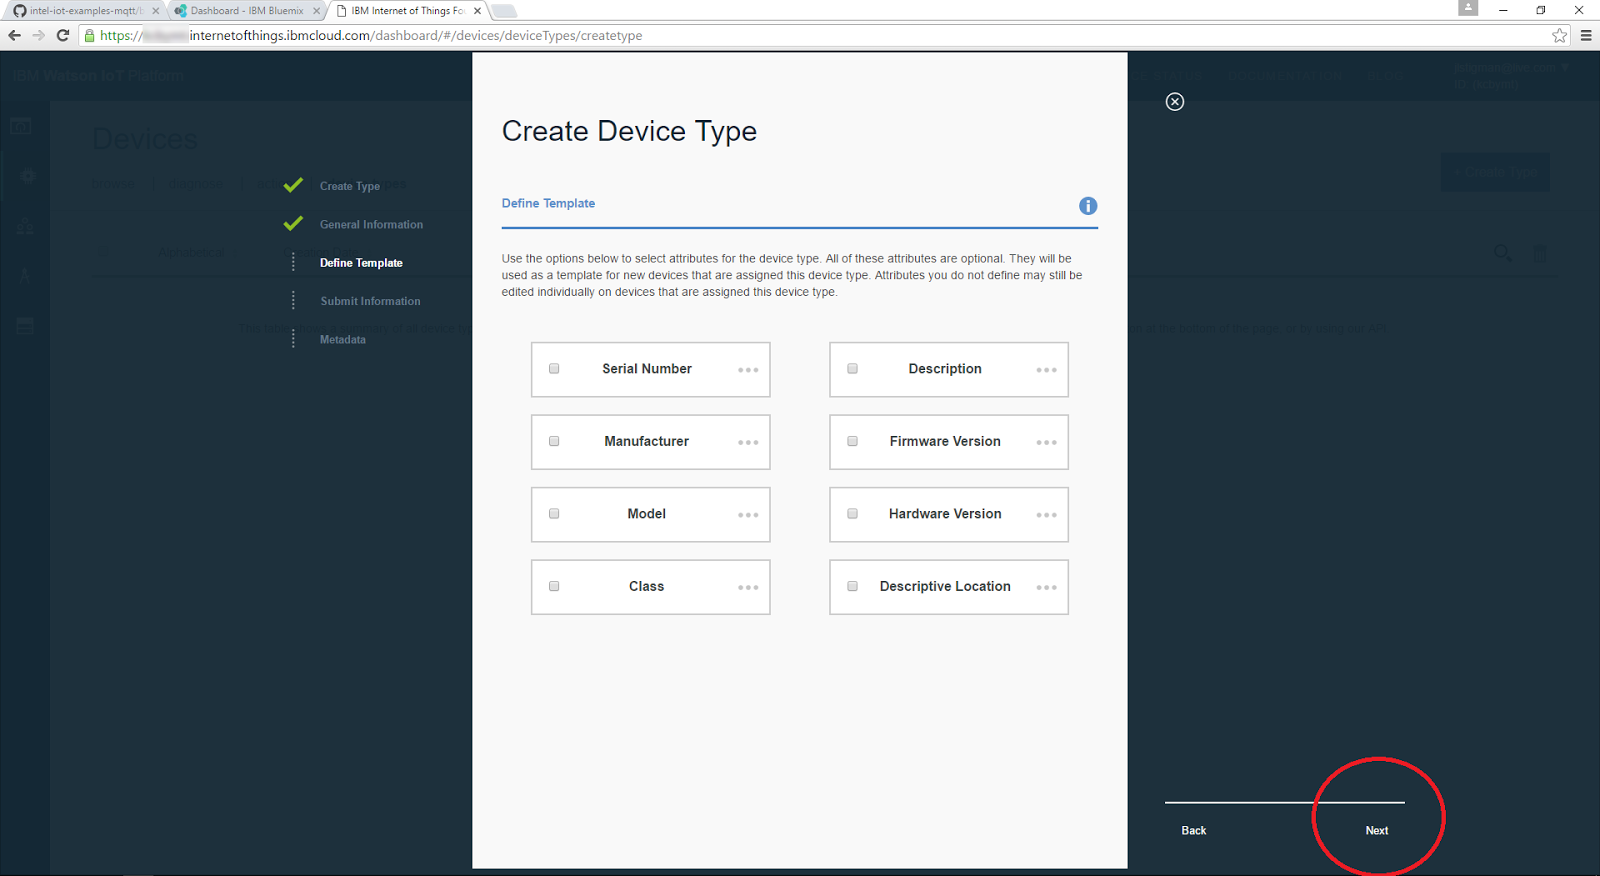
-
In the Submit Information step, click Next.
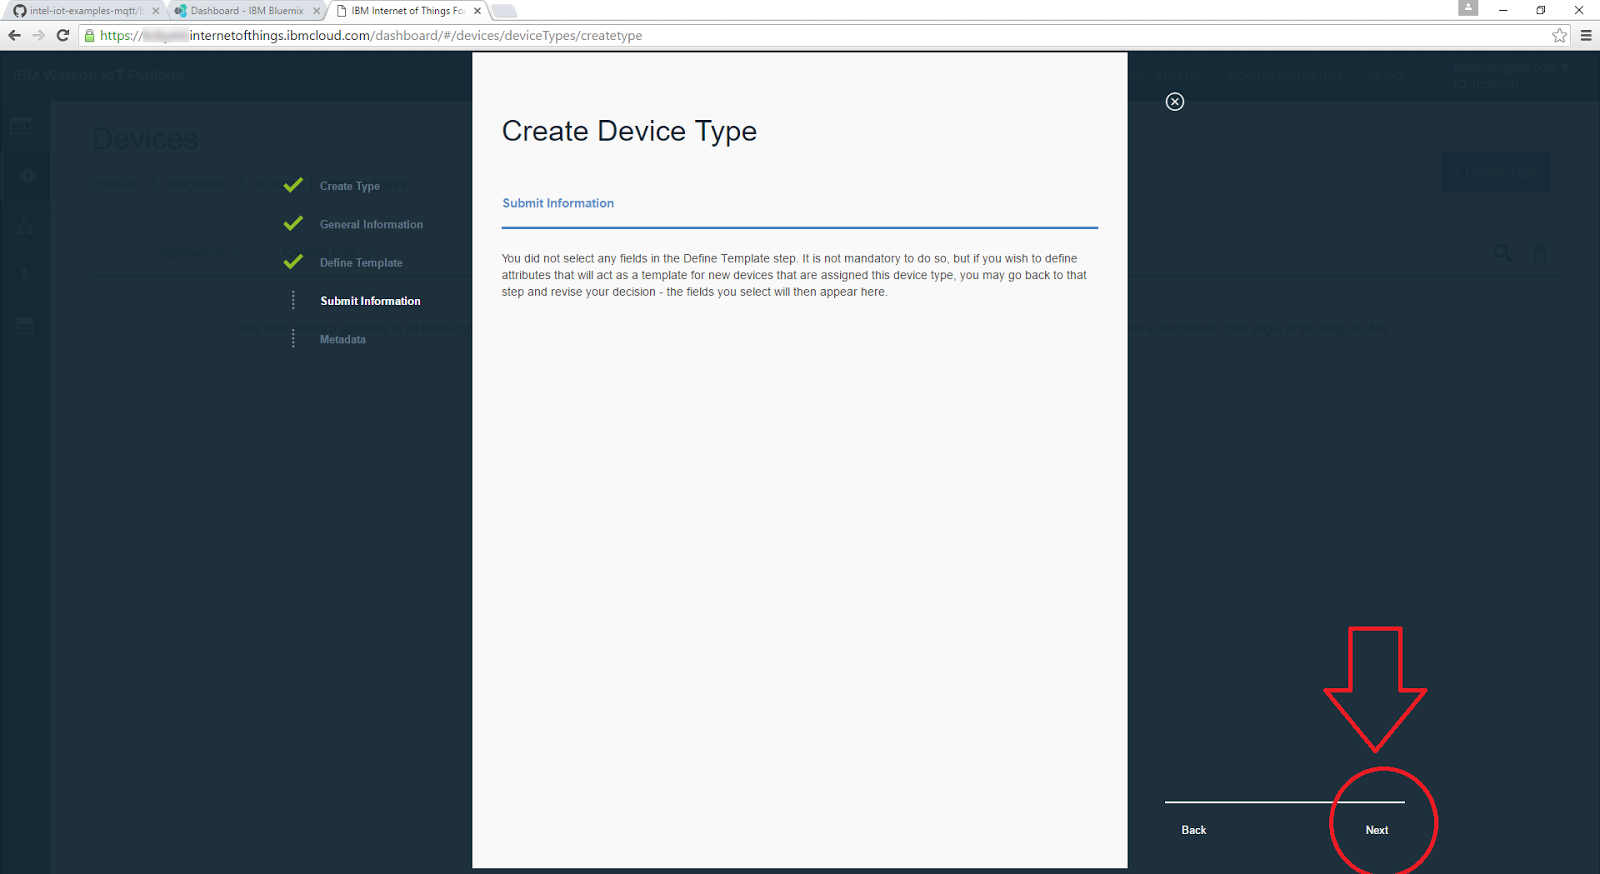
-
If necessary, add metadata and click Create.

Add a device
-
From the Choose Device Type drop-down list, select the new device type you created in the previous section, and click Next.

-
In the Device ID field, type the ID of your device and click Next.

-
If necessary, add metadata and click Next.

-
In the Security step, auto-generate an authentication token by clicking Next.
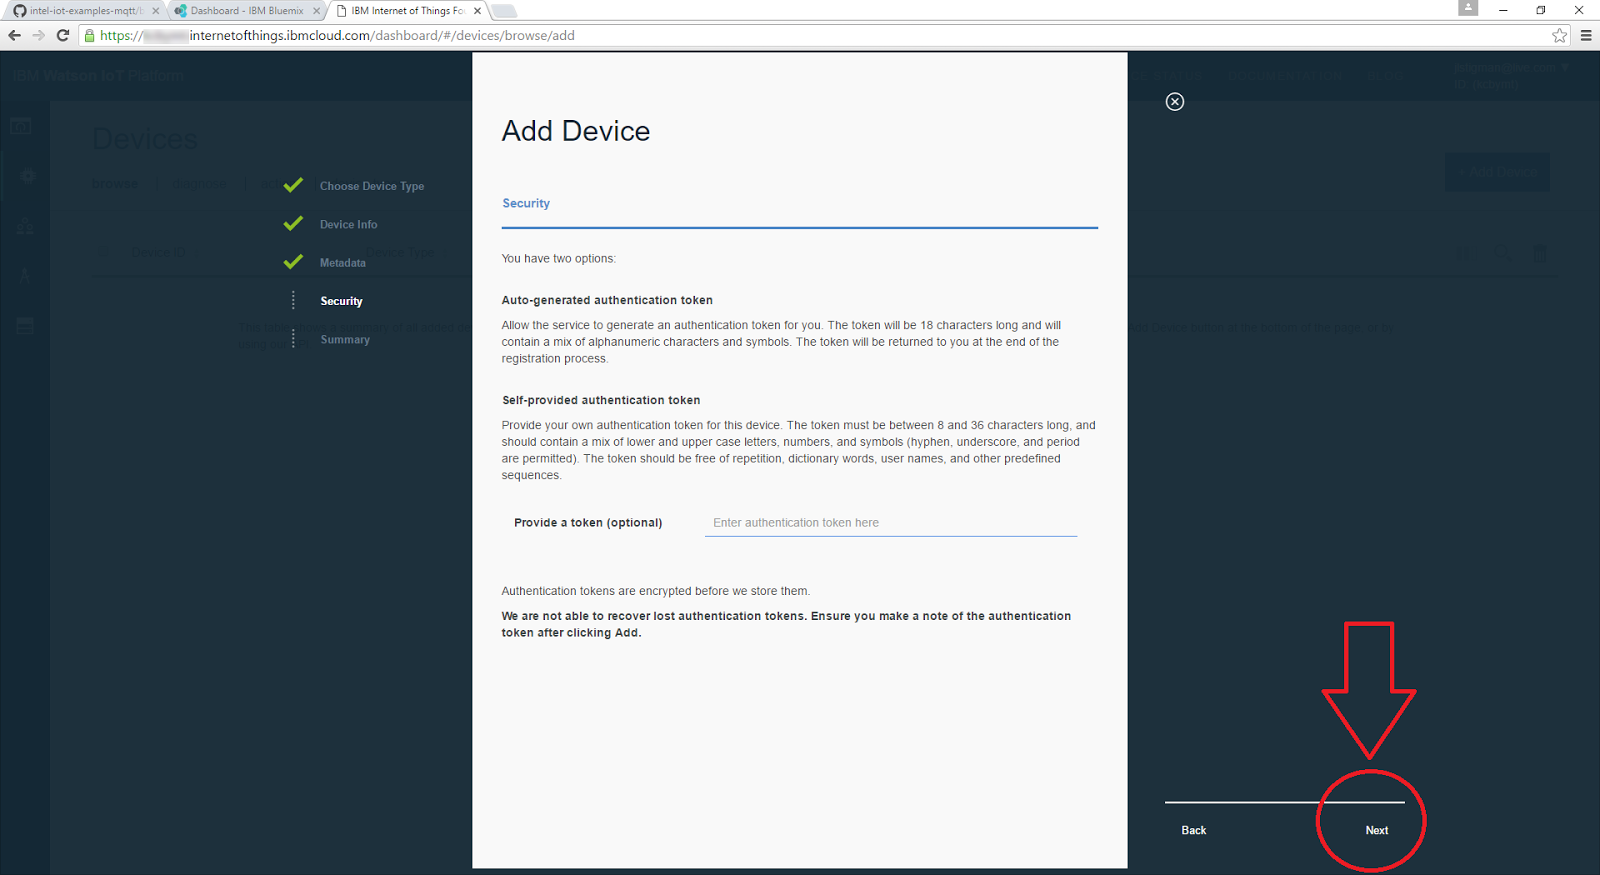
-
Click Add.
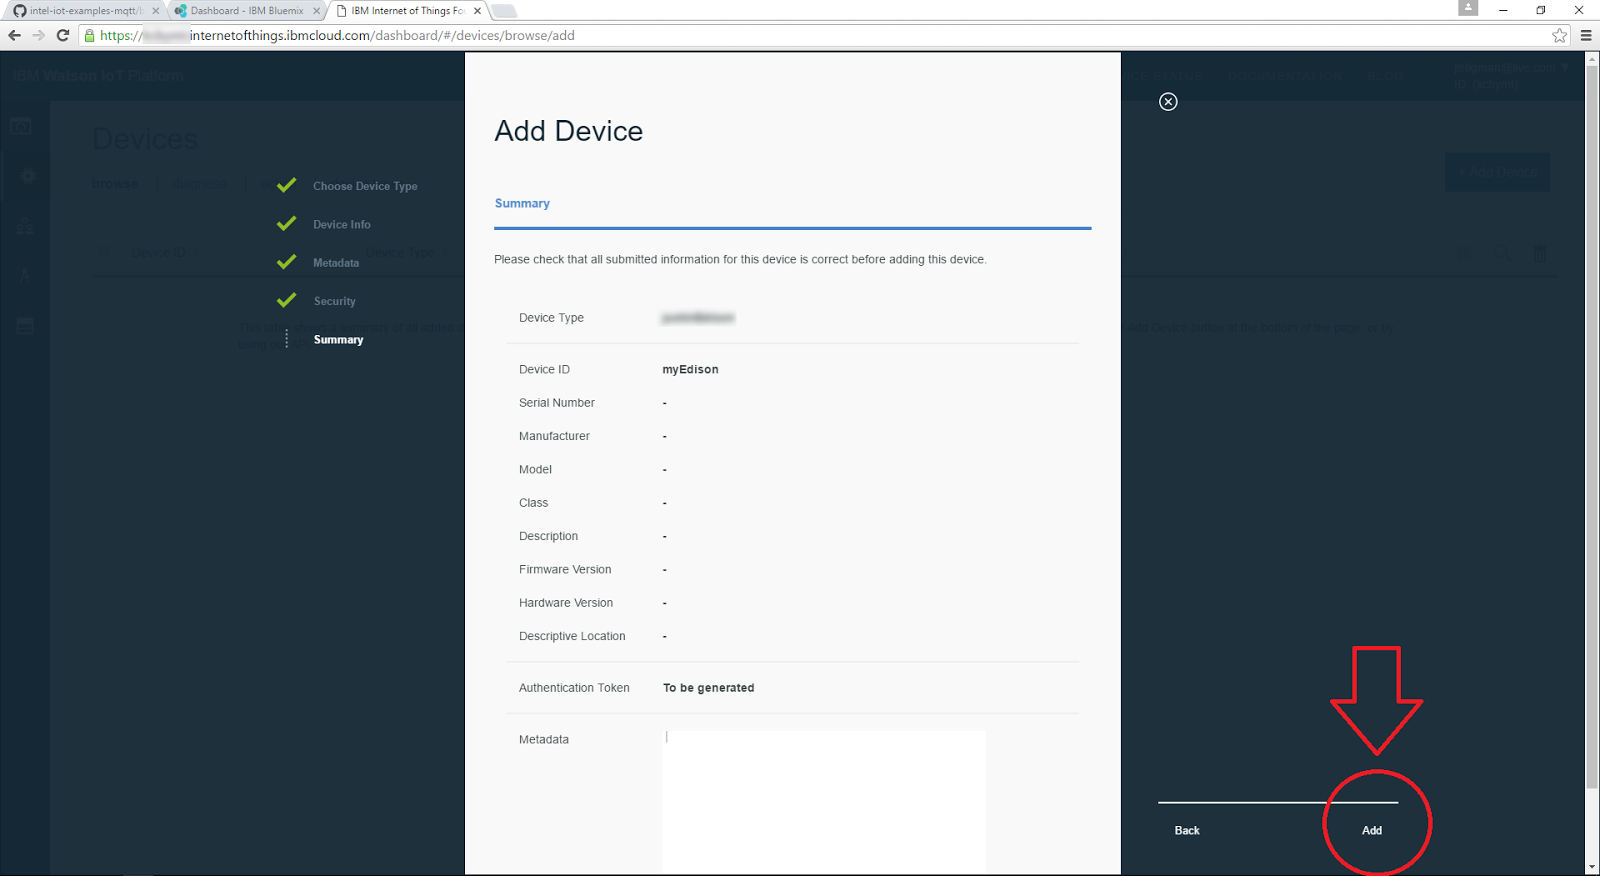
-
Make a note of the Authentication Token displayed under Your Device Credentials.

Summary
If you have followed all the steps above, you should have all the information that your program needs to connect to the MQTT server:
MQTT_SERVER - use \<Your organization ID\>.messaging.internetofthings.ibmcloud.com, along with the ssl:// (for C++) or mqtts:// (for JavaScript*) protocol
MQTT_CLIENTID - use d:\<Your organization ID\>:\<Your device type\>:\<Your device ID\>
MQTT_TOPIC - use iot-2/evt/status/fmt/json
MQTT_USERNAME - use use-token-auth
MQTT_PASSWORD - use the string with the authorization token of your device
Additional setup for C++
When running your C++ code on the Intel® Edison board, you need to set the MQTT client parameters in Eclipse*. To do that:
-
Go to Run configurations and, in the Commands to execute before application field, type the following:
chmod 755 /tmp/<Your app name>; export MQTT_SERVER="ssl://<Your organization ID>.messaging.internetofthings.ibmcloud.com:8883"; export MQTT_CLIENTID="d:<Your organization ID>:<Your device type>:<Your device ID>"; export MQTT_USERNAME="use-token-auth"; export MQTT_PASSWORD="<Your authorization token>"; export MQTT_TOPIC="iot-2/evt/status/fmt/json" -
Click the Apply button to save these settings.
-
Click the Run button to run the code on your board.
Additional setup for JavaScript*
When running your JavaScript* code on the Intel® Edison board, you need to set the MQTT client parameters in the Intel® XDK IDE. Add the following entries to the config.json file:
    {
    "MQTT_SERVER": "mqtts://<Your organization ID>.messaging.internetofthings.ibmcloud.com:8883",
    "MQTT_CLIENTID": "d:<Your organization ID>:<Your device type>:<Your device ID>",
    "MQTT_USERNAME": "use-token-auth",
    "MQTT_PASSWORD": "<Your authorization token>",
    "MQTT_TOPIC": "iot-2/evt/status/fmt/json"
    }